

Tail Vise
The Benchcrafted Tail Vise is the versatile wagon vise that saves your bench space and never sags.

BACKGROUND
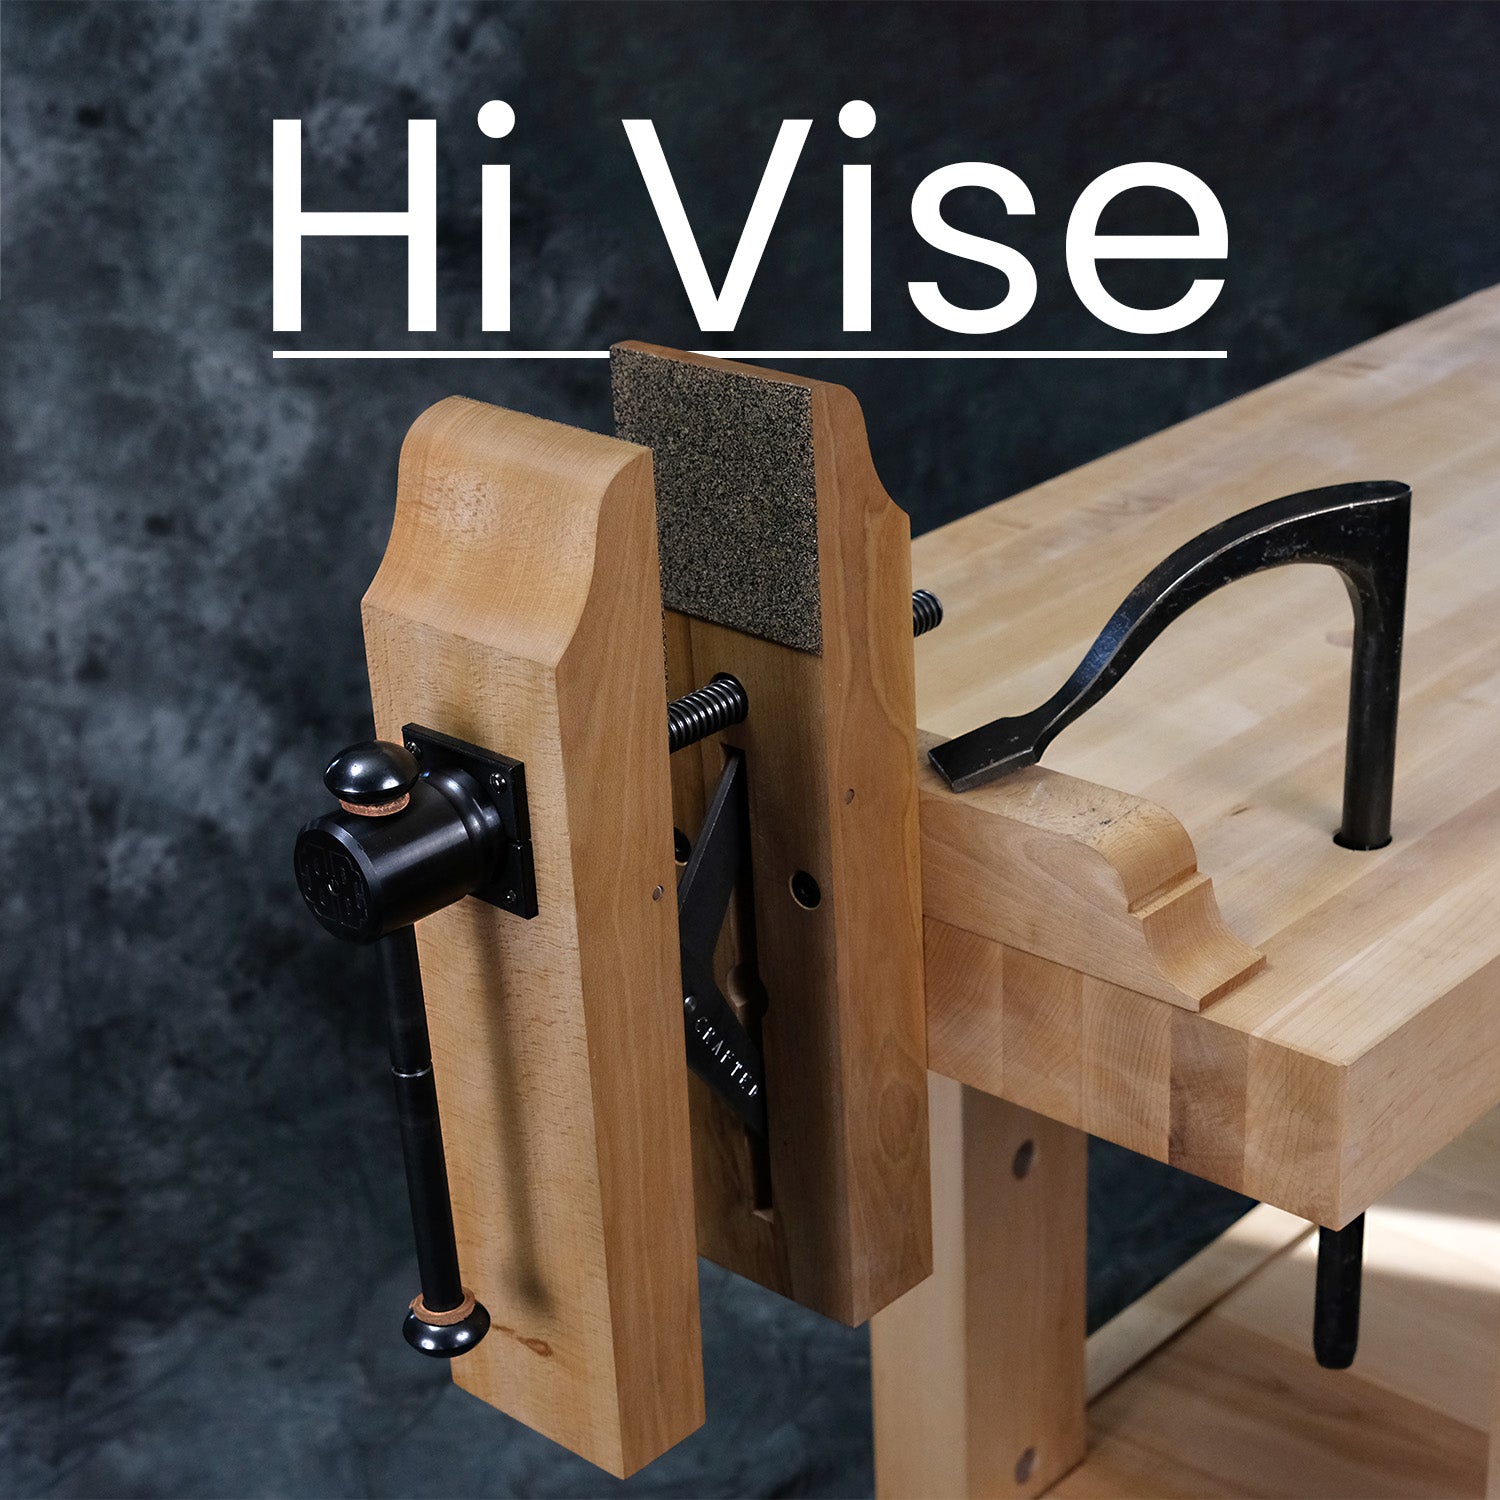
Before the industrial revolution the wooden leg vise was king. Once mass-production processes became commonplace, vise designs started to change. The leg vise was brushed aside and the cast-iron bolt-on vise took hold. They have their place, but the leg vise is superior in every way. When we set out to design and manufacture the Glide, we wanted to capture the best aspects of traditional leg vises and mingle them with modern precision manufacturing capabilities to make a vise that has all the benefits of the old-world designs along with those of the 21st century. Leg vises offer greater work holding capabilities than iron vises. Without the two guide rods of the iron vise, workpieces can be held right up against the screw, virtually eliminating racking and providing a better overall grip. Iron face vises provide around 4" of workable depth from the top of the bench to the screw and guide rods. Leg vises are usually more than double this, around 9". Leg vises are also more powerful due to the large lever provided by the lower position of the fulcrum. Leg vises are also simpler and easier to maintain than iron vises. The auxiliary wood jaws necessary for iron vises are unnecessary with a leg vise since the vise itself, along with the bench's leg and top, forms the jaws of the vise. This also means you can build the vise in your own style, using wood of your own choosing. The leg vise is not only functionally excellent, but also aesthetically pleasing.
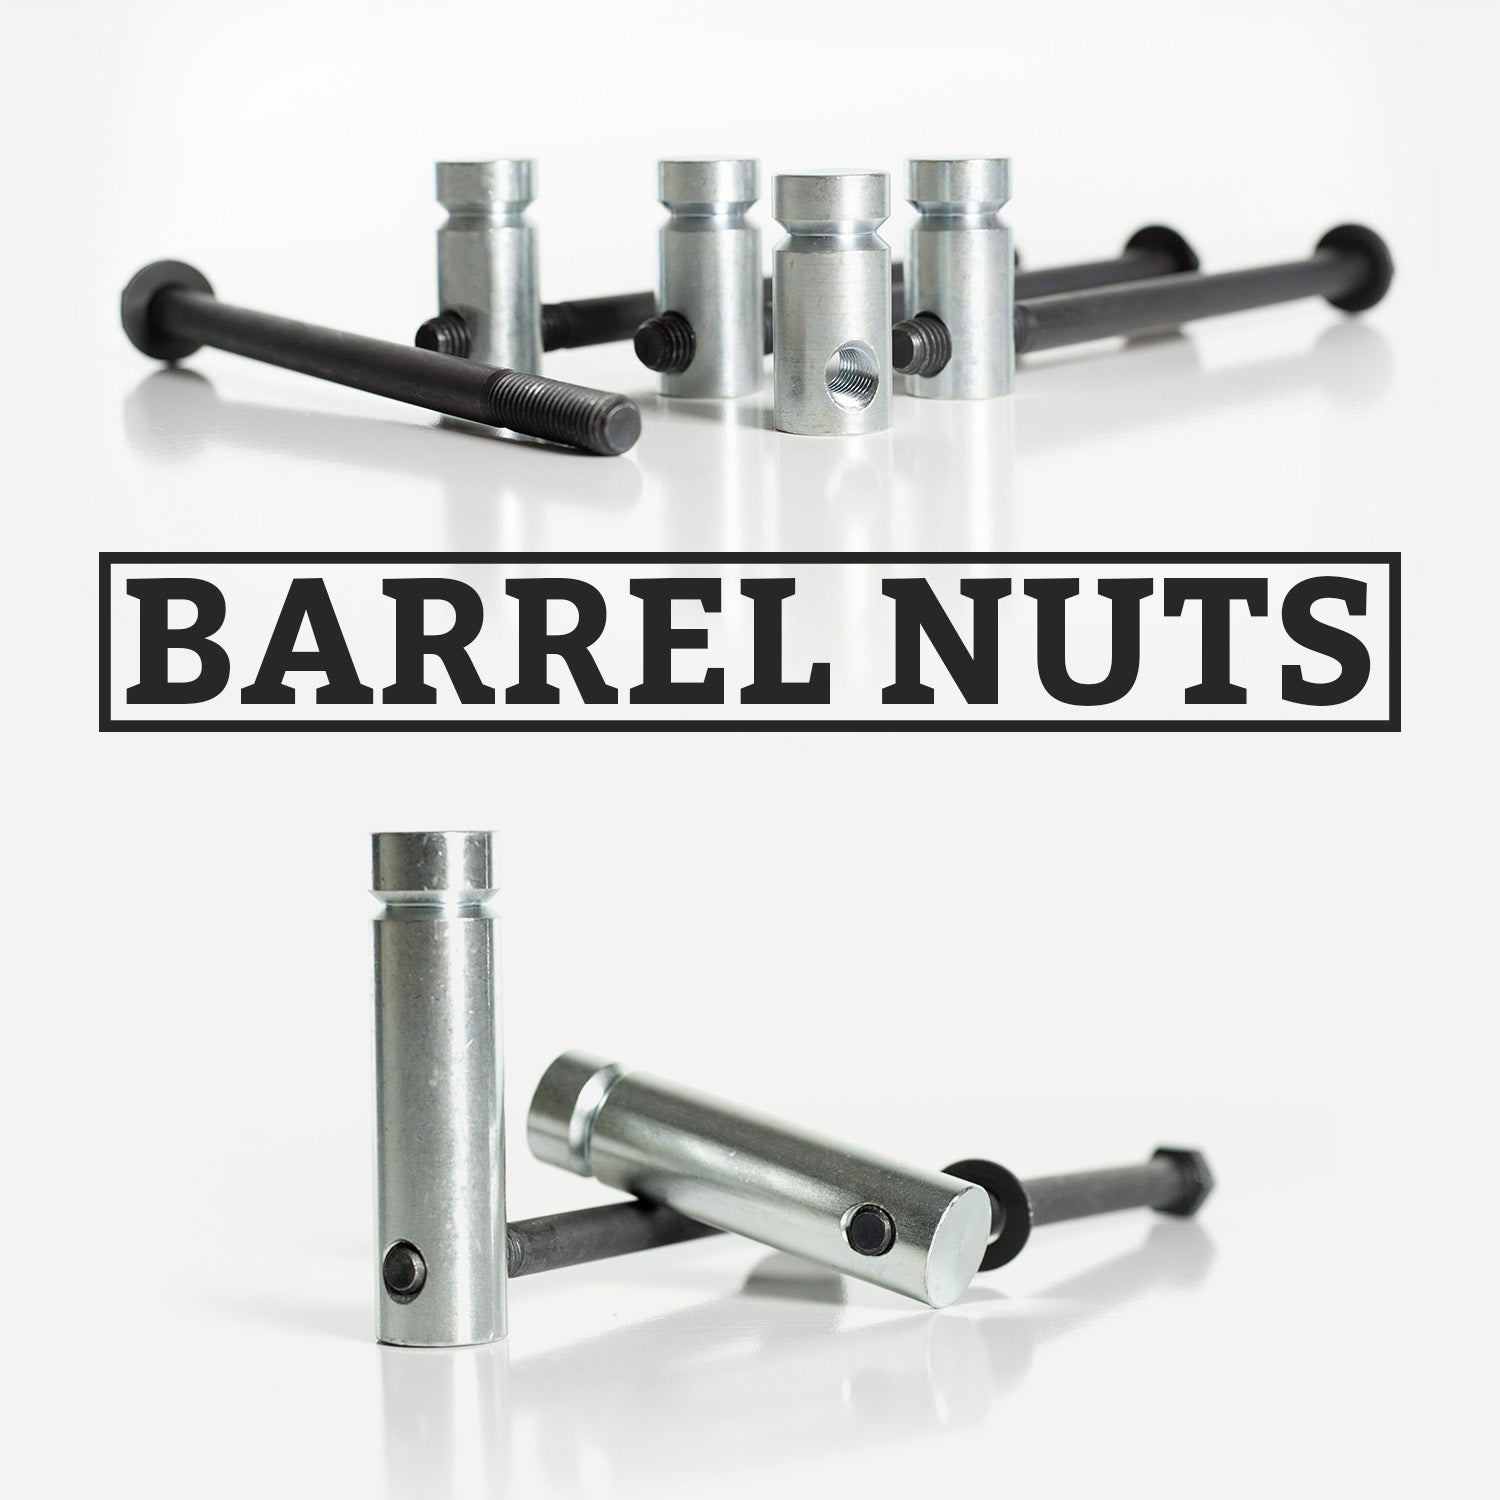
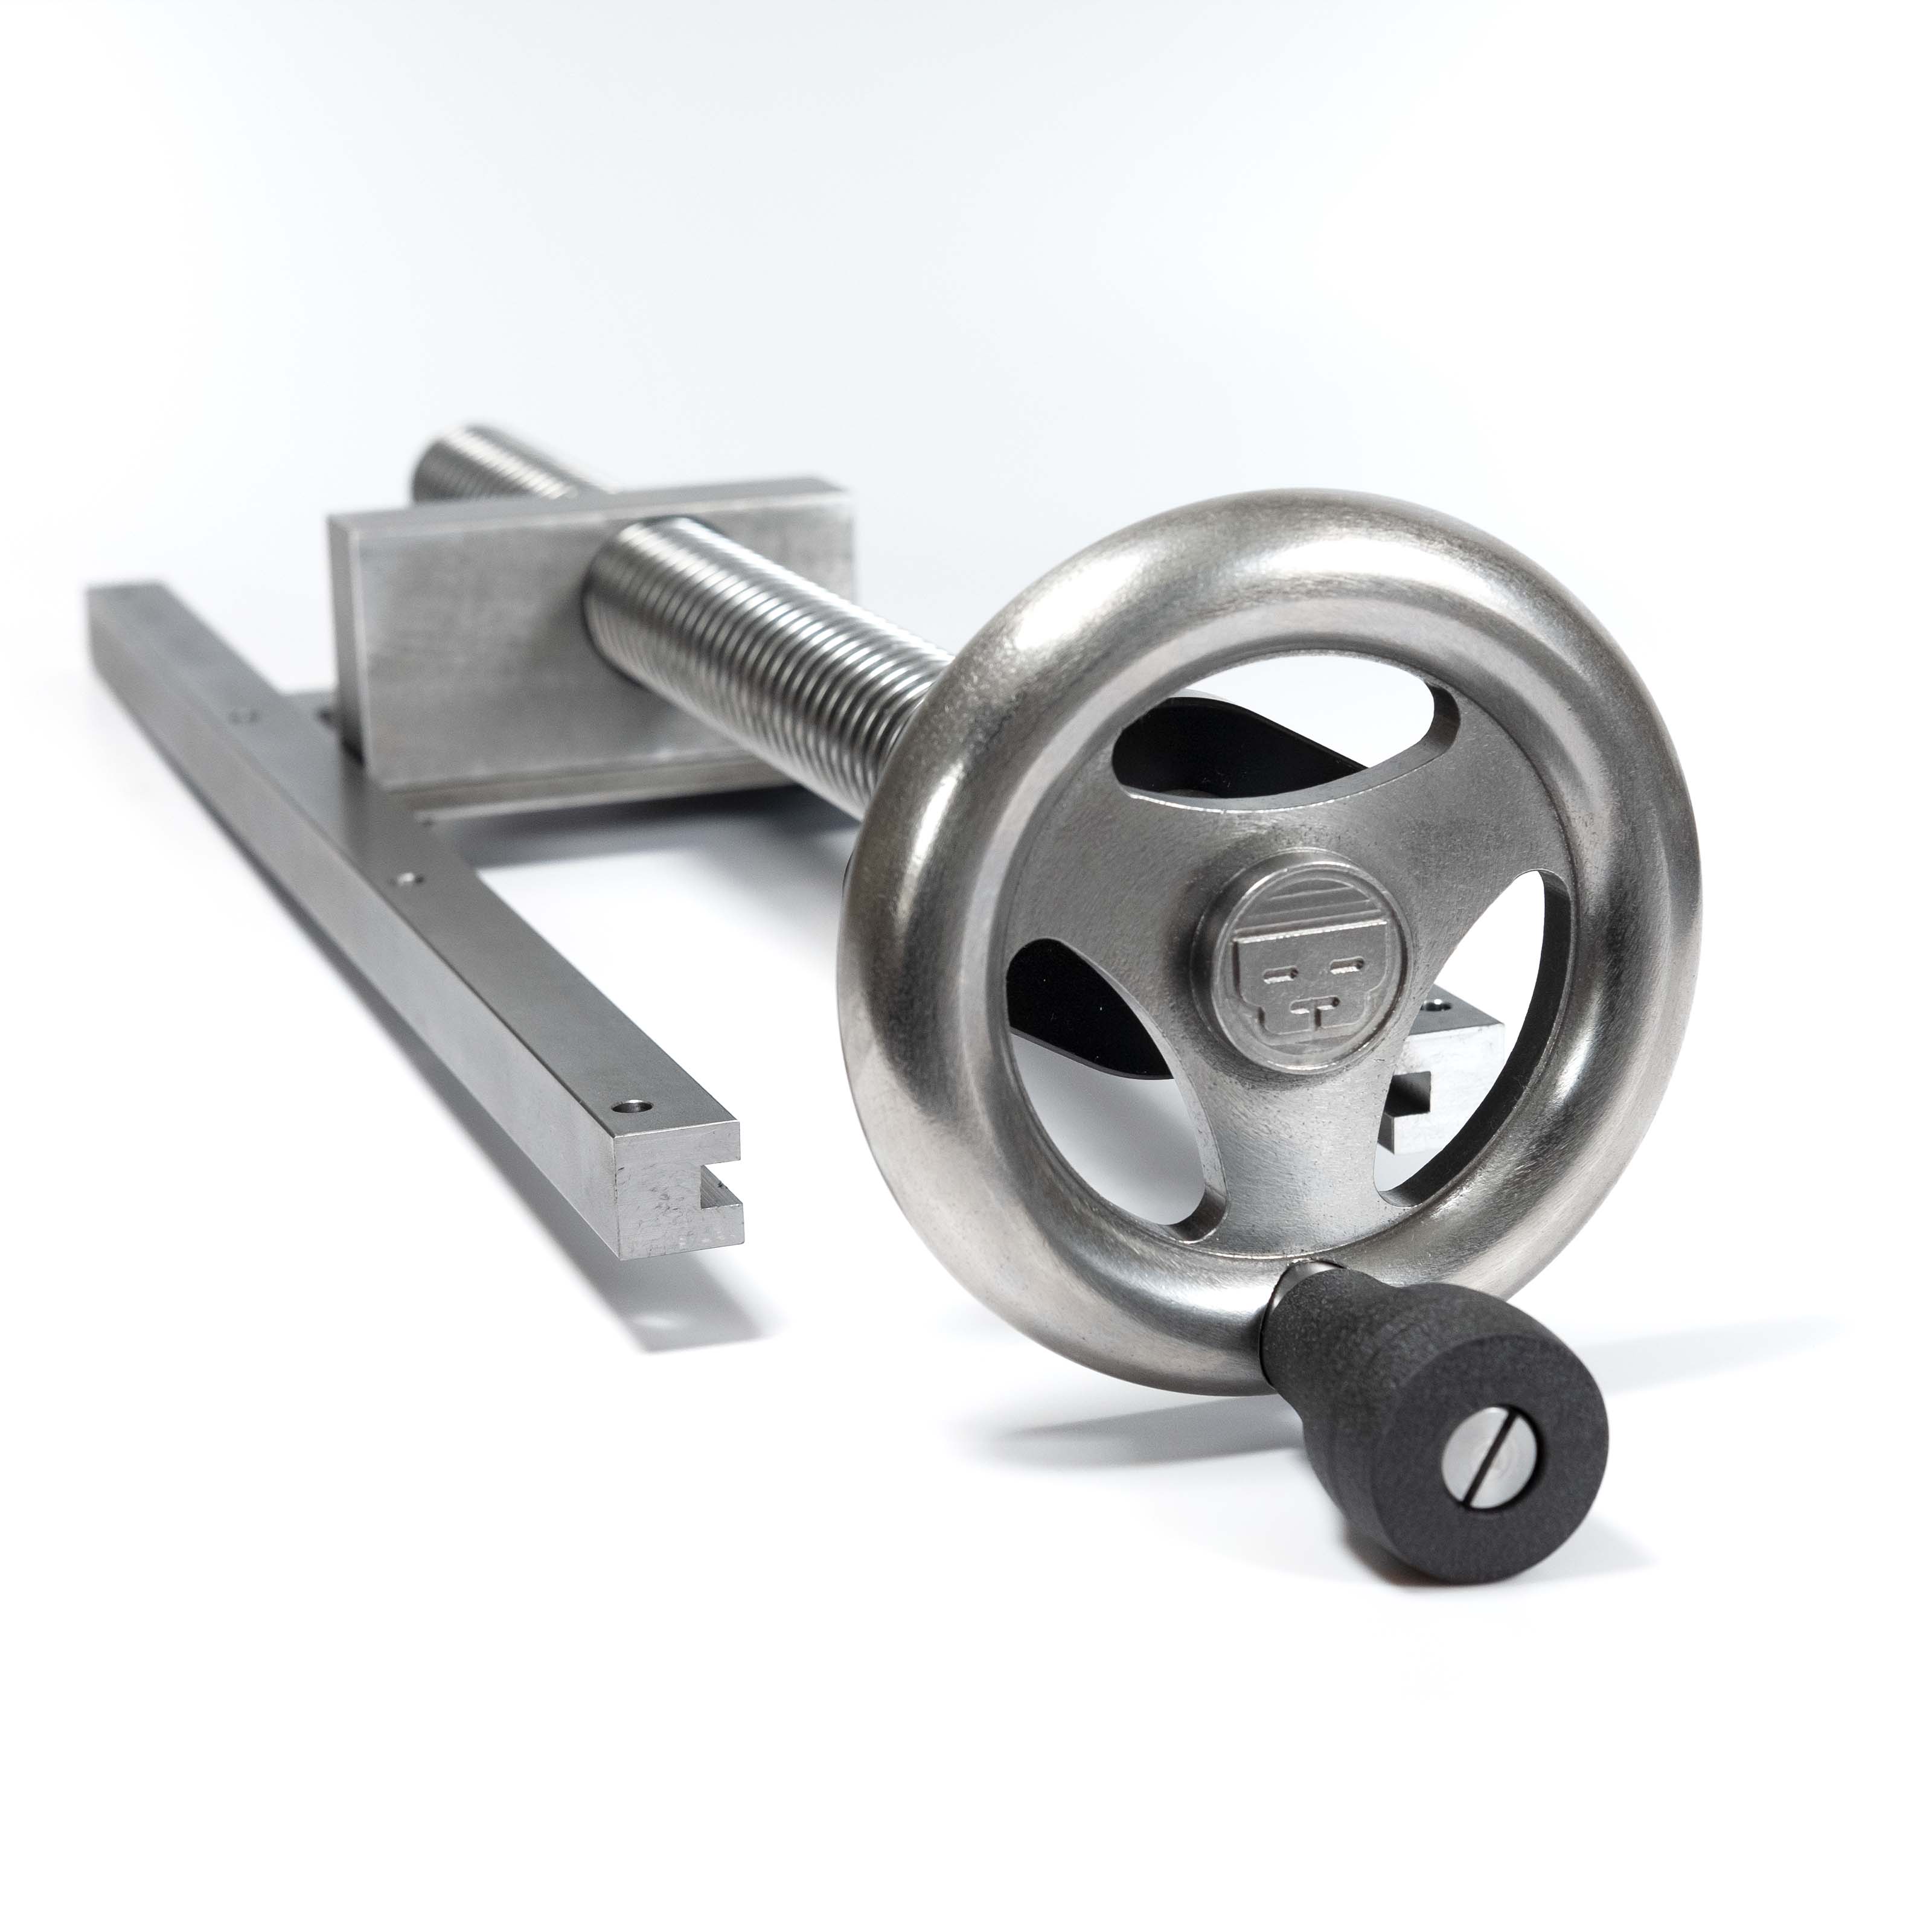
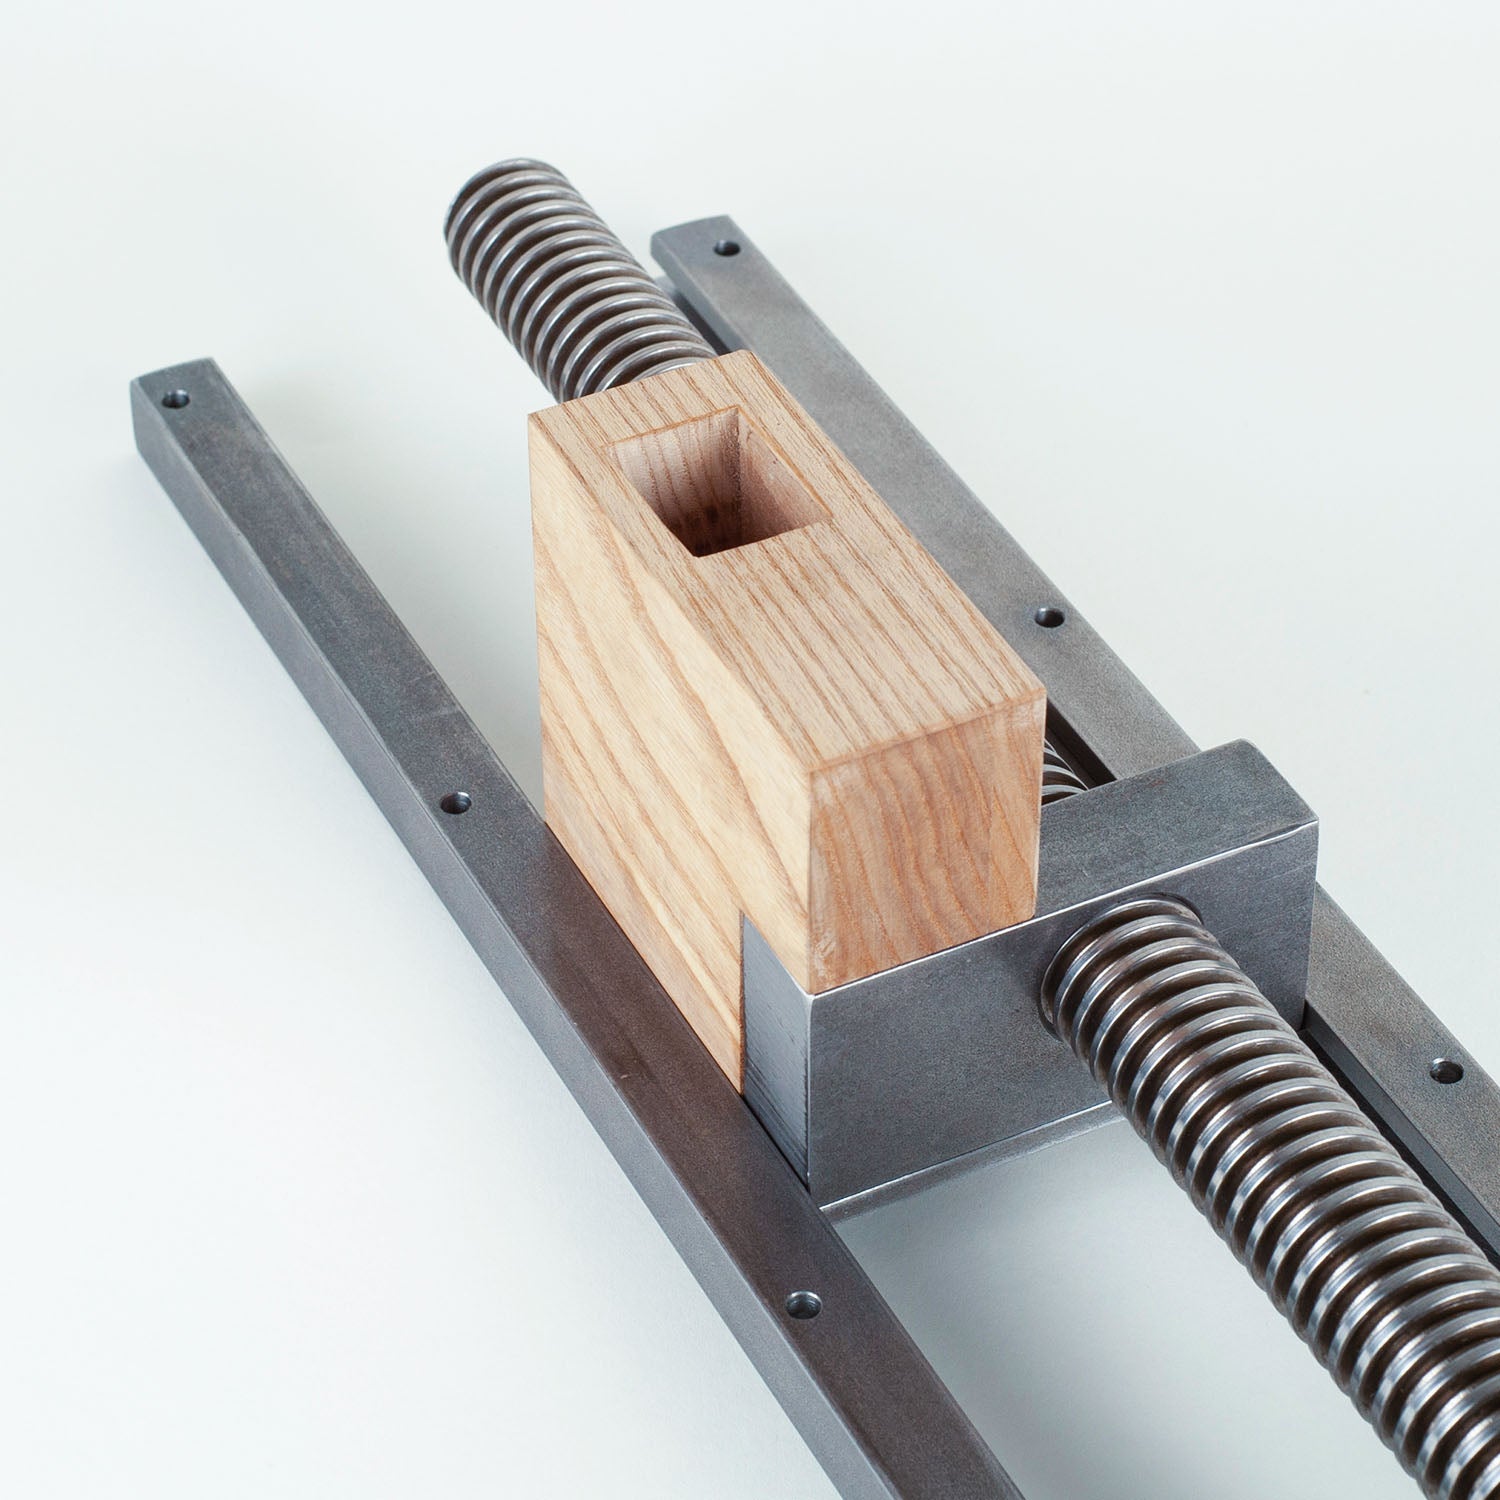
Unlike other tail vises, the The Benchcrafted Tail Vise utilizes a moving dog block and nut, with the screw remaining in a fixed position within the bench. The dog block rides alongside the screw to allow nearly the full length of the screw to be utilized. The benefit here is that the screw remains in the same position at all times, never protruding past the end of the bench. The left-hand thread, precision-rolled acme screw provides for typical rotation when operating the vise. Operating the vise is intuitive.
Wagon Vises Versus Moving-Block Tail Vises
"Moving-block" tail vises have some disadvantages that limit the usefulness of this area of the bench. Mallet work, such as mortising or chopping dovetails over the vise can damage the mechanism over a short time. The vise is also prone to sagging with use and wear, which causes all sorts of problems for clamping between dogs. Once the vise starts to sag, often it will raise up above the surface of the bench when tightening, raising up the workpiece with it. This can cause hand plane chatter among other issues. The same type of vise also protrudes past the end of the bench as its opened. One advantage the traditional tail vise has over the wagon vise is the open-front jaws. However, the large gap of the open jaws can make for a large unsupported area below workpieces, and this can cause some problems when planing, especially with shorter, thinner pieces. Wagon-type vises solve almost all of the problems of traditional tail vises. The area of the bench around the vise can be used in the same way as the rest of the bench. The vise can't sag. The screw doesn't extend past the end of the bench when the vise is opened, making this vise a great choice for cramped shops. The dog block also cannot raise up when tightened. The area around the vise will always remain as flat as the rest of the bench, since the "moving block" section of the traditional tail vise is eliminated. Our Tail Vise is also easier to install than traditional tail vises, since it eliminates the task of building the complex wood superstructure around the vise hardware. The significant advantages of the wagon vise more than make up for the lack of the open-front jaws of the traditional moving-block tail vise.
Tail Vises Versus Nothing
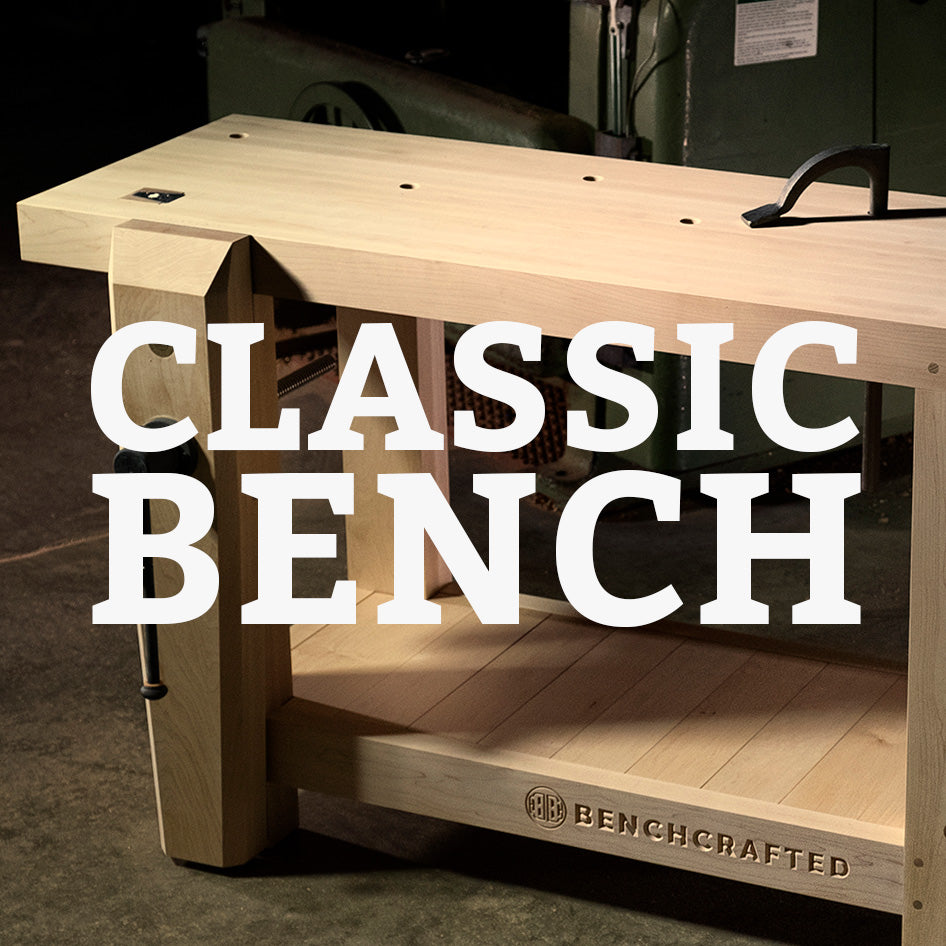
In the search for the ultimate bench (it doesn't exist) one is likely to encounter discussion of going entirely without a tail vise. And indeed, our own Classic workbench does not use one. However, unless one is a die-hard traditionalist, or worked for years without a tail vise (it's impossible to miss something unexperienced) the question arises, what disadvantages does a tail vise have? And the answer is, none. Although a bench build will take a bit more time (perhaps an extra day or two of construction) installing a Benchcrafted Tail Vise offers nothing but advantages. Planing stops, often mentioned as a replacement for a tail vise (as some of the functions do overlap) can be used to best effect alongside a bench equipped with a tail vise. We use and recommend installing both in your bench.
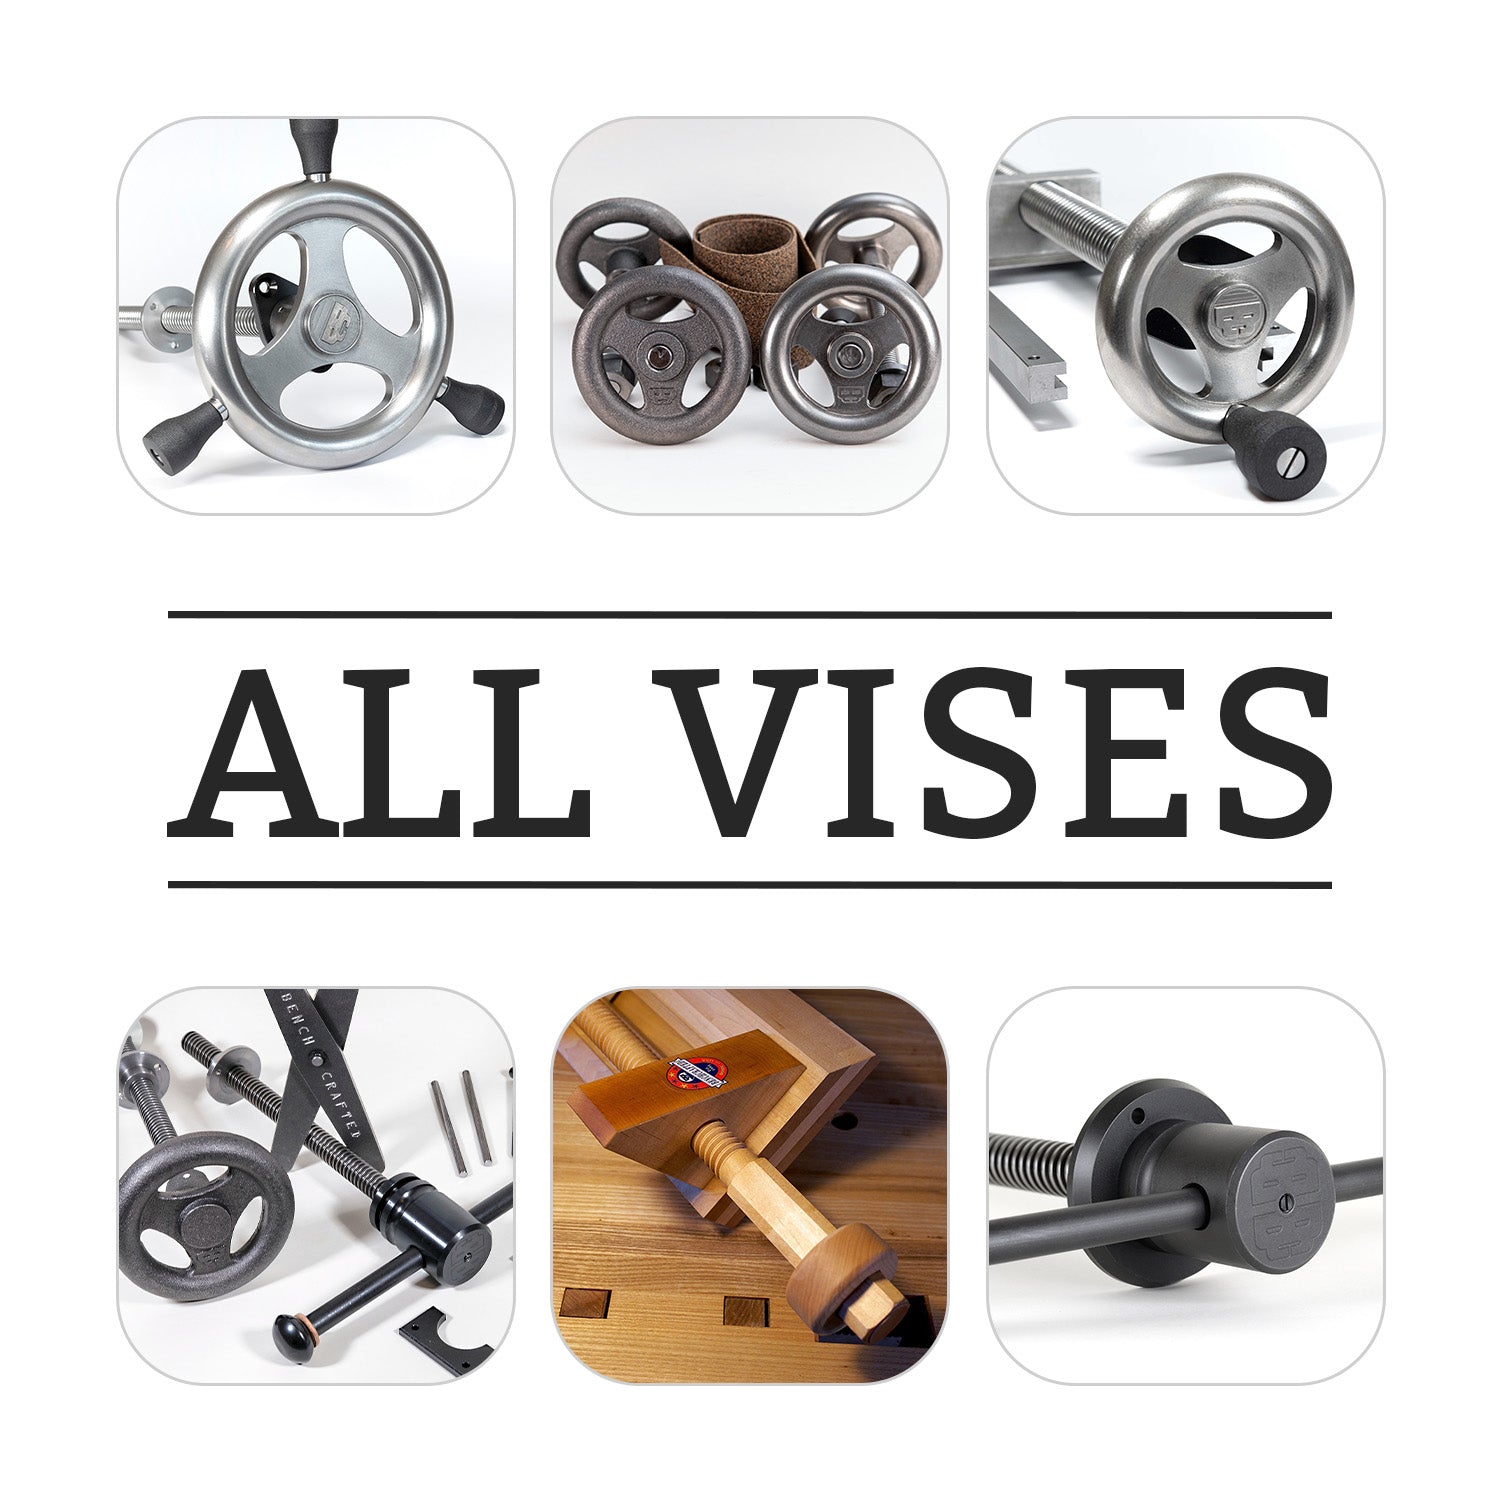
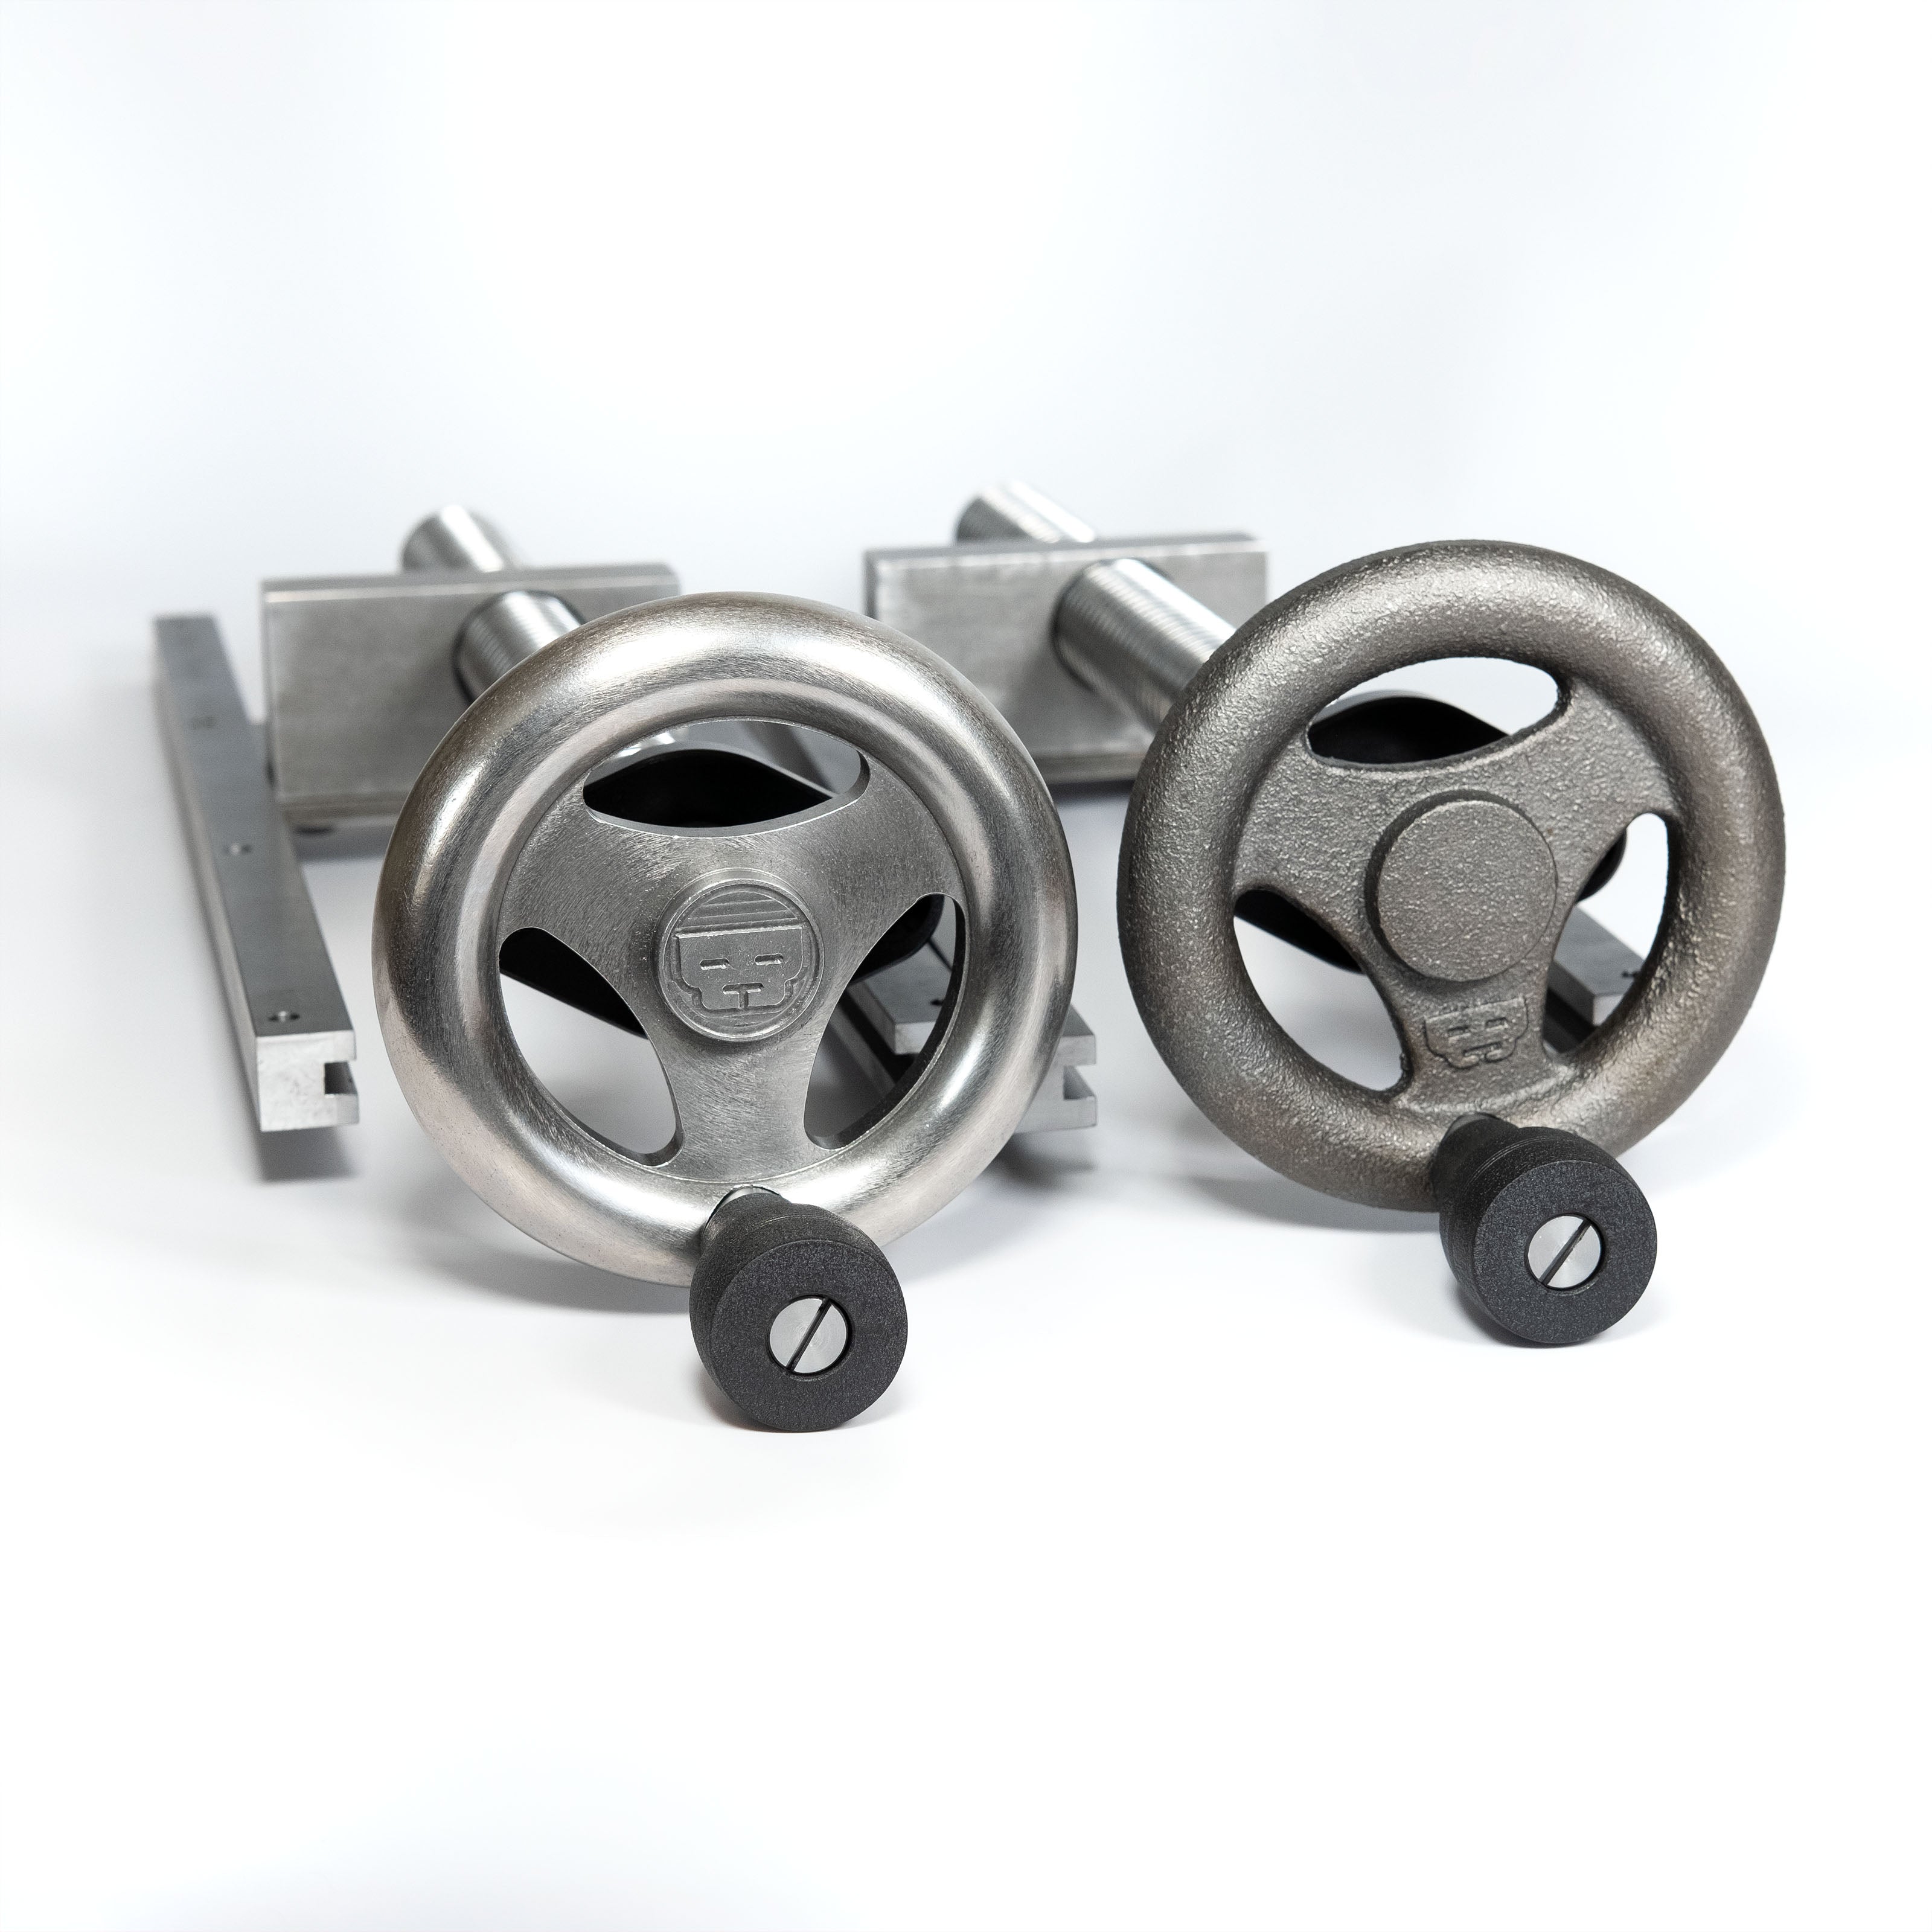
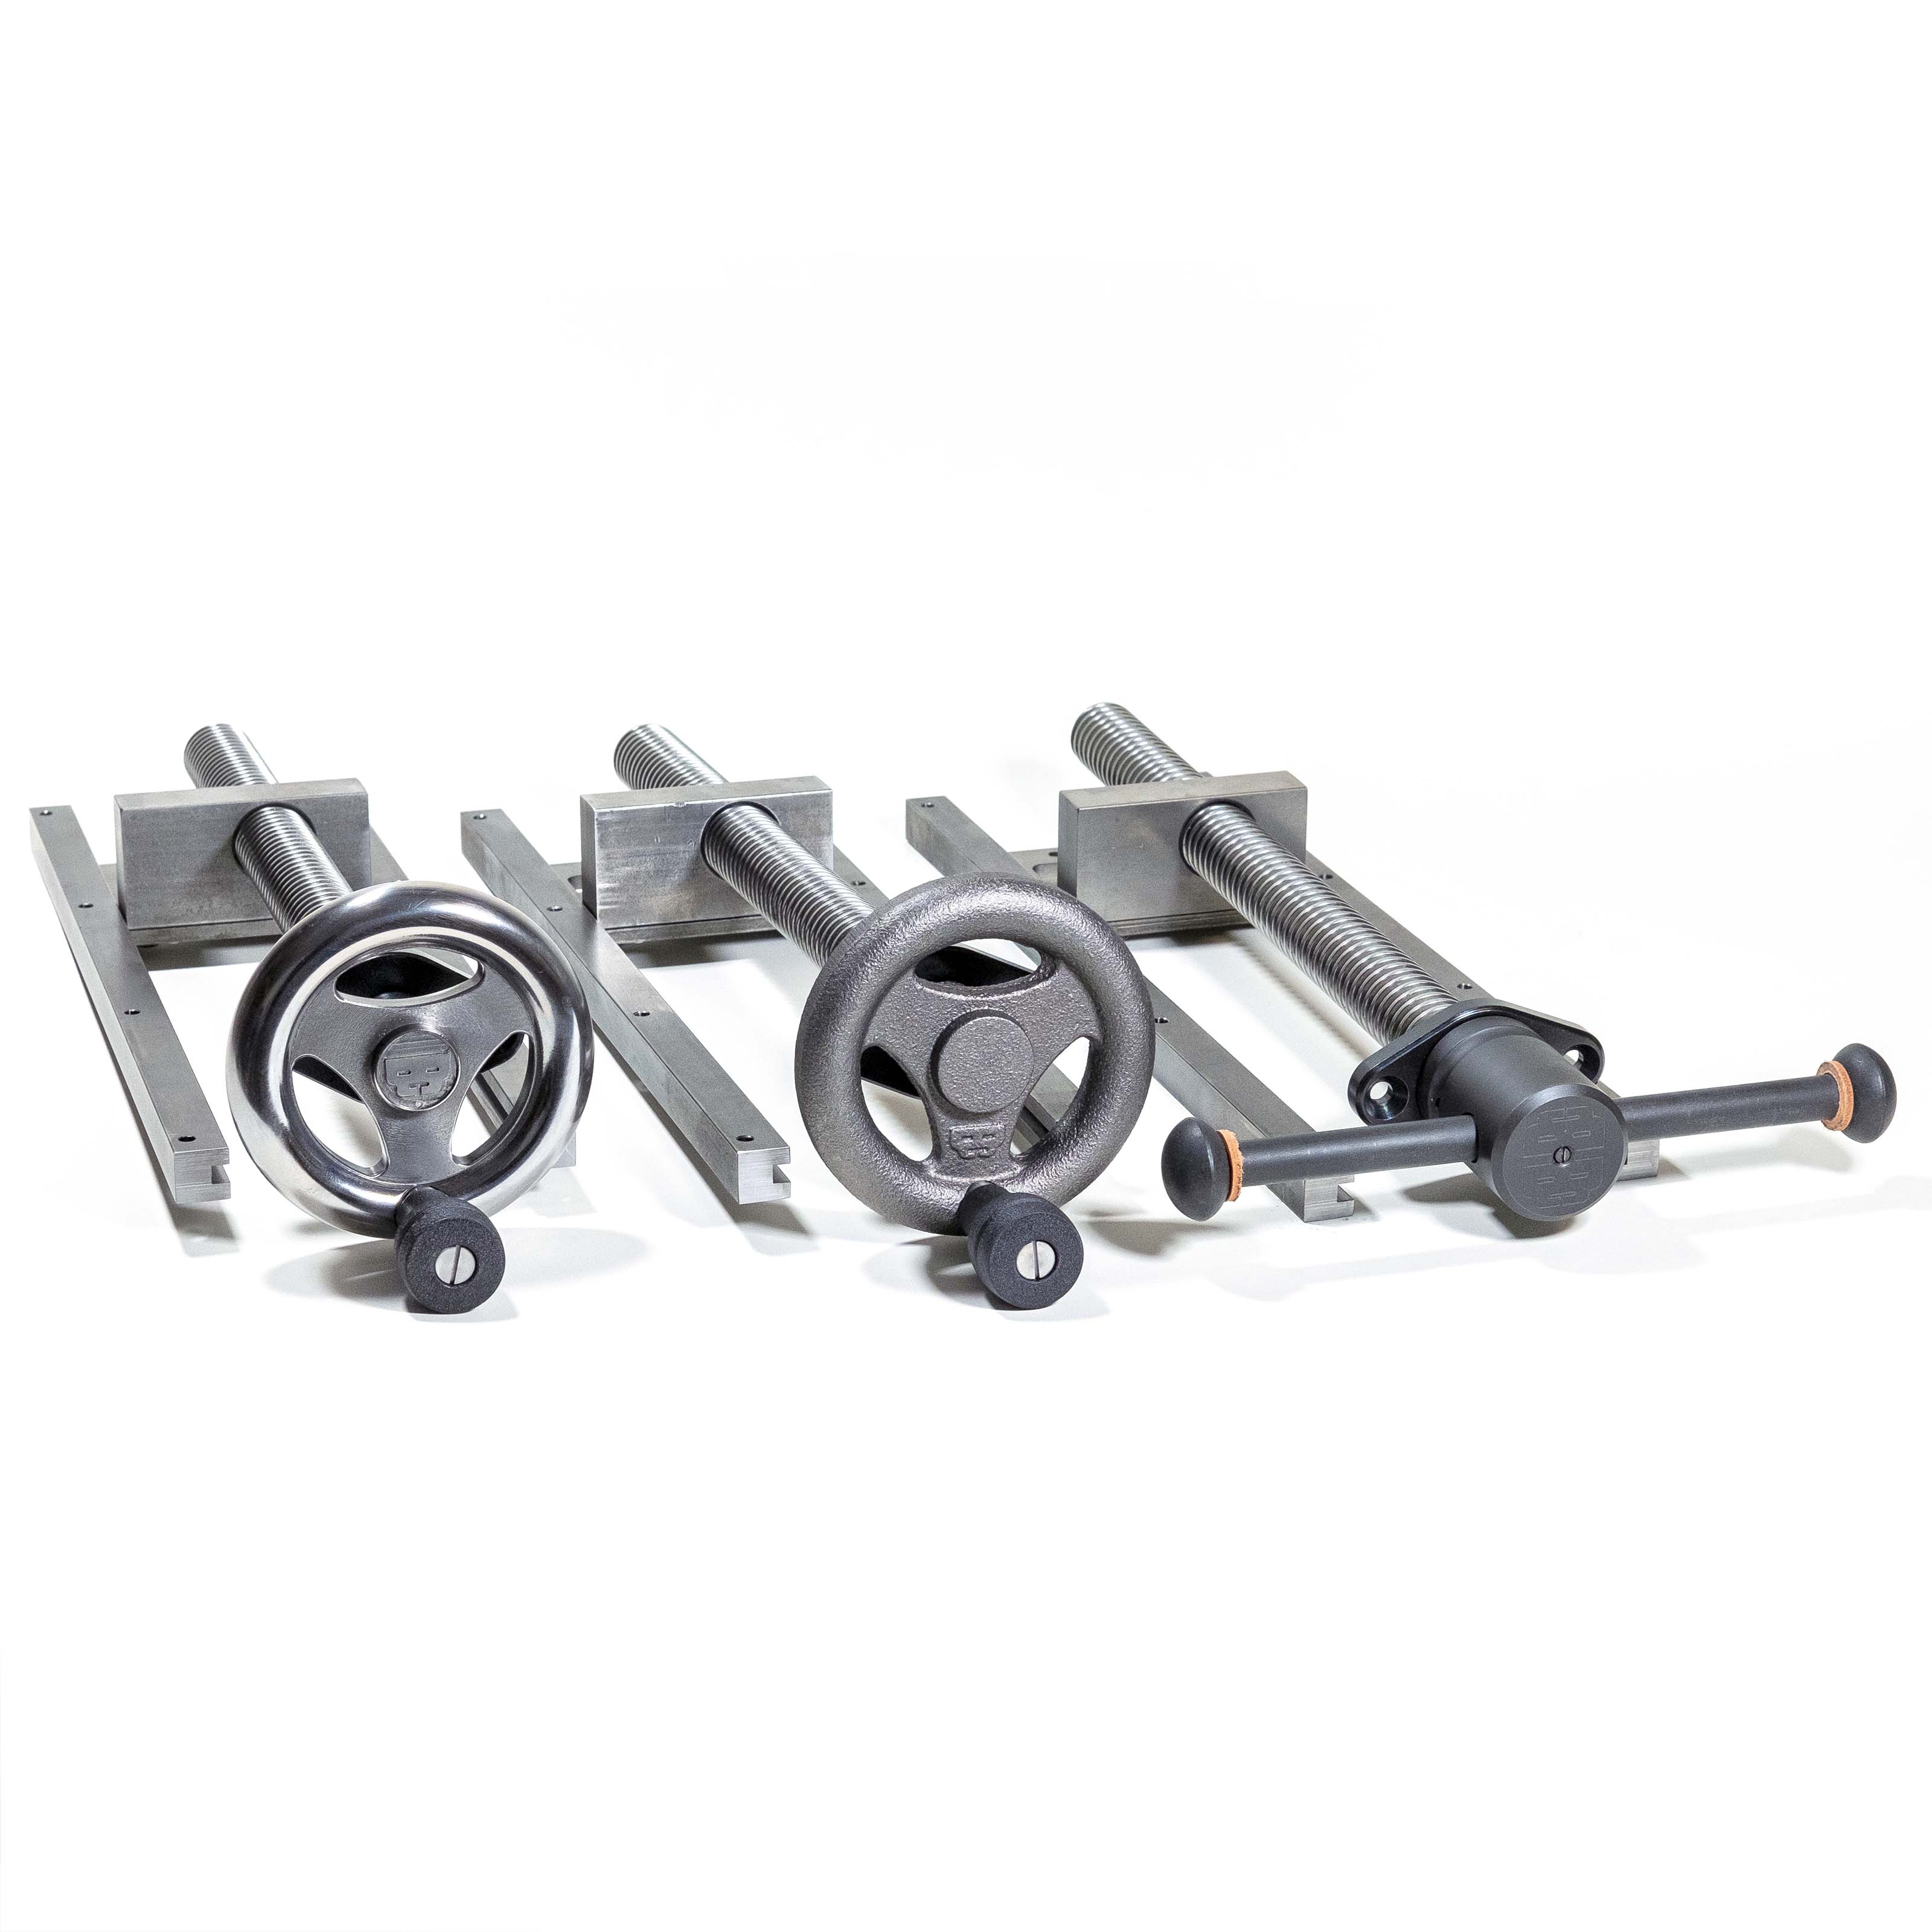
Three Models
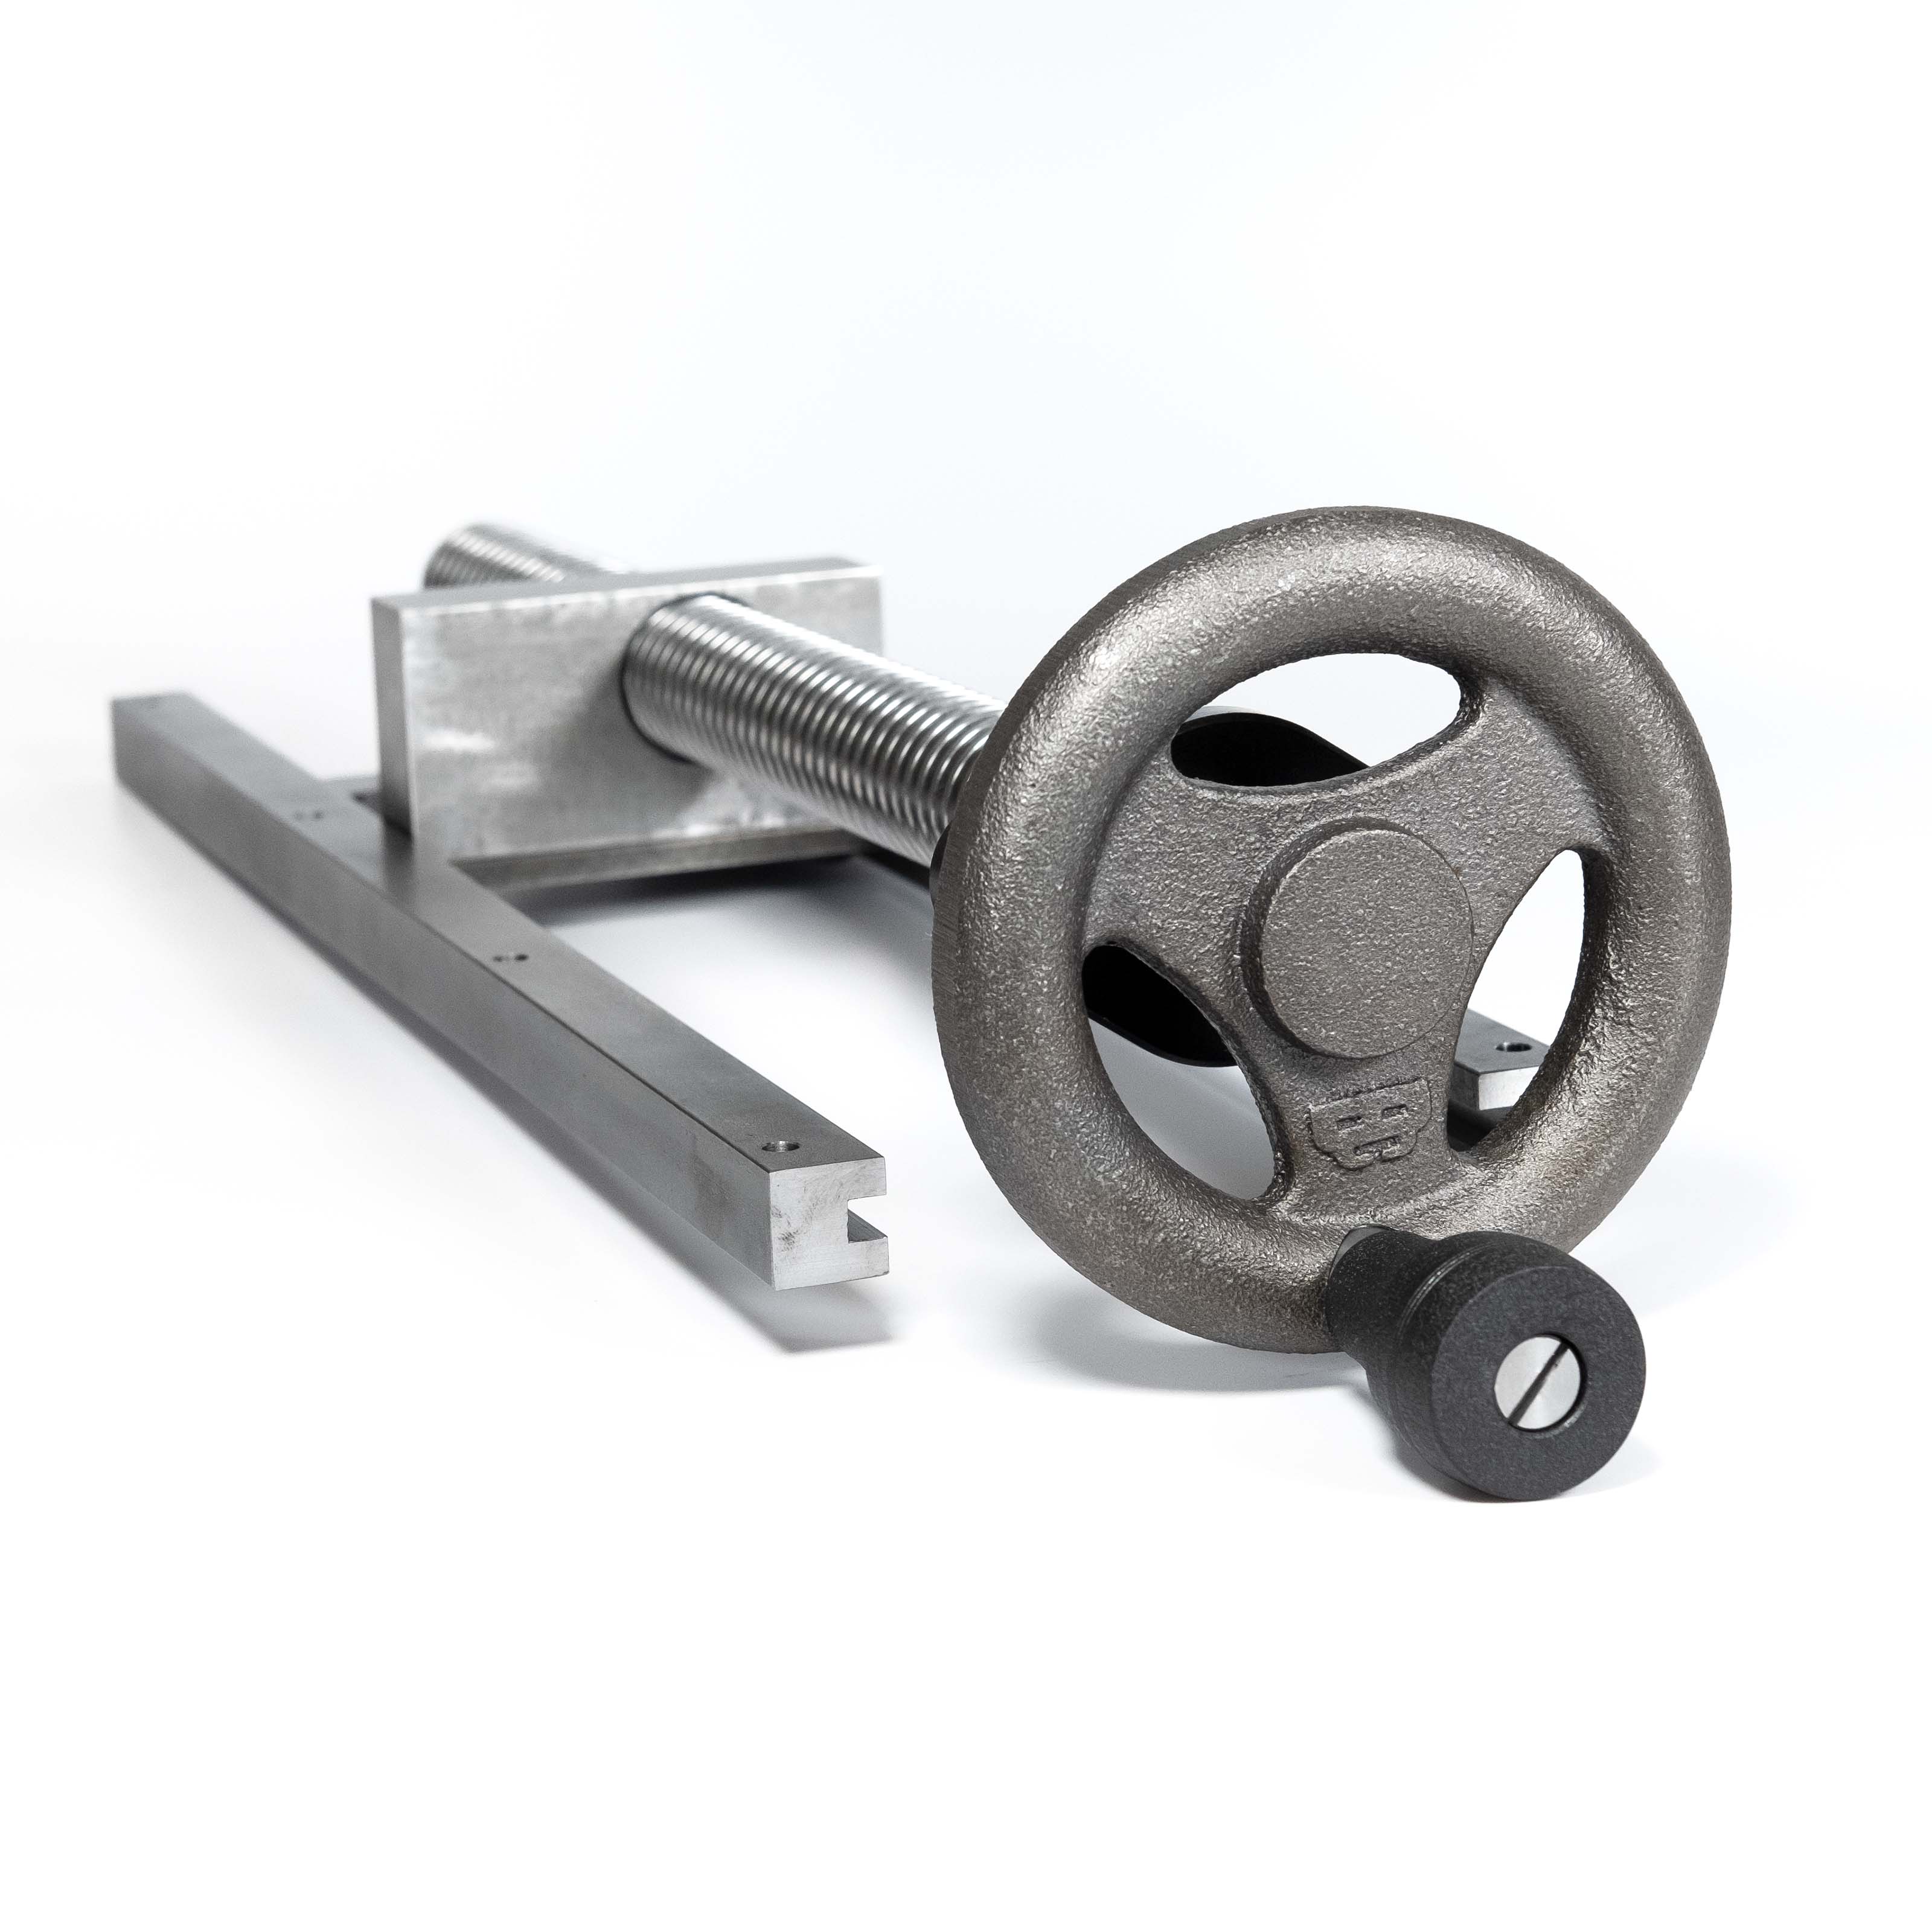
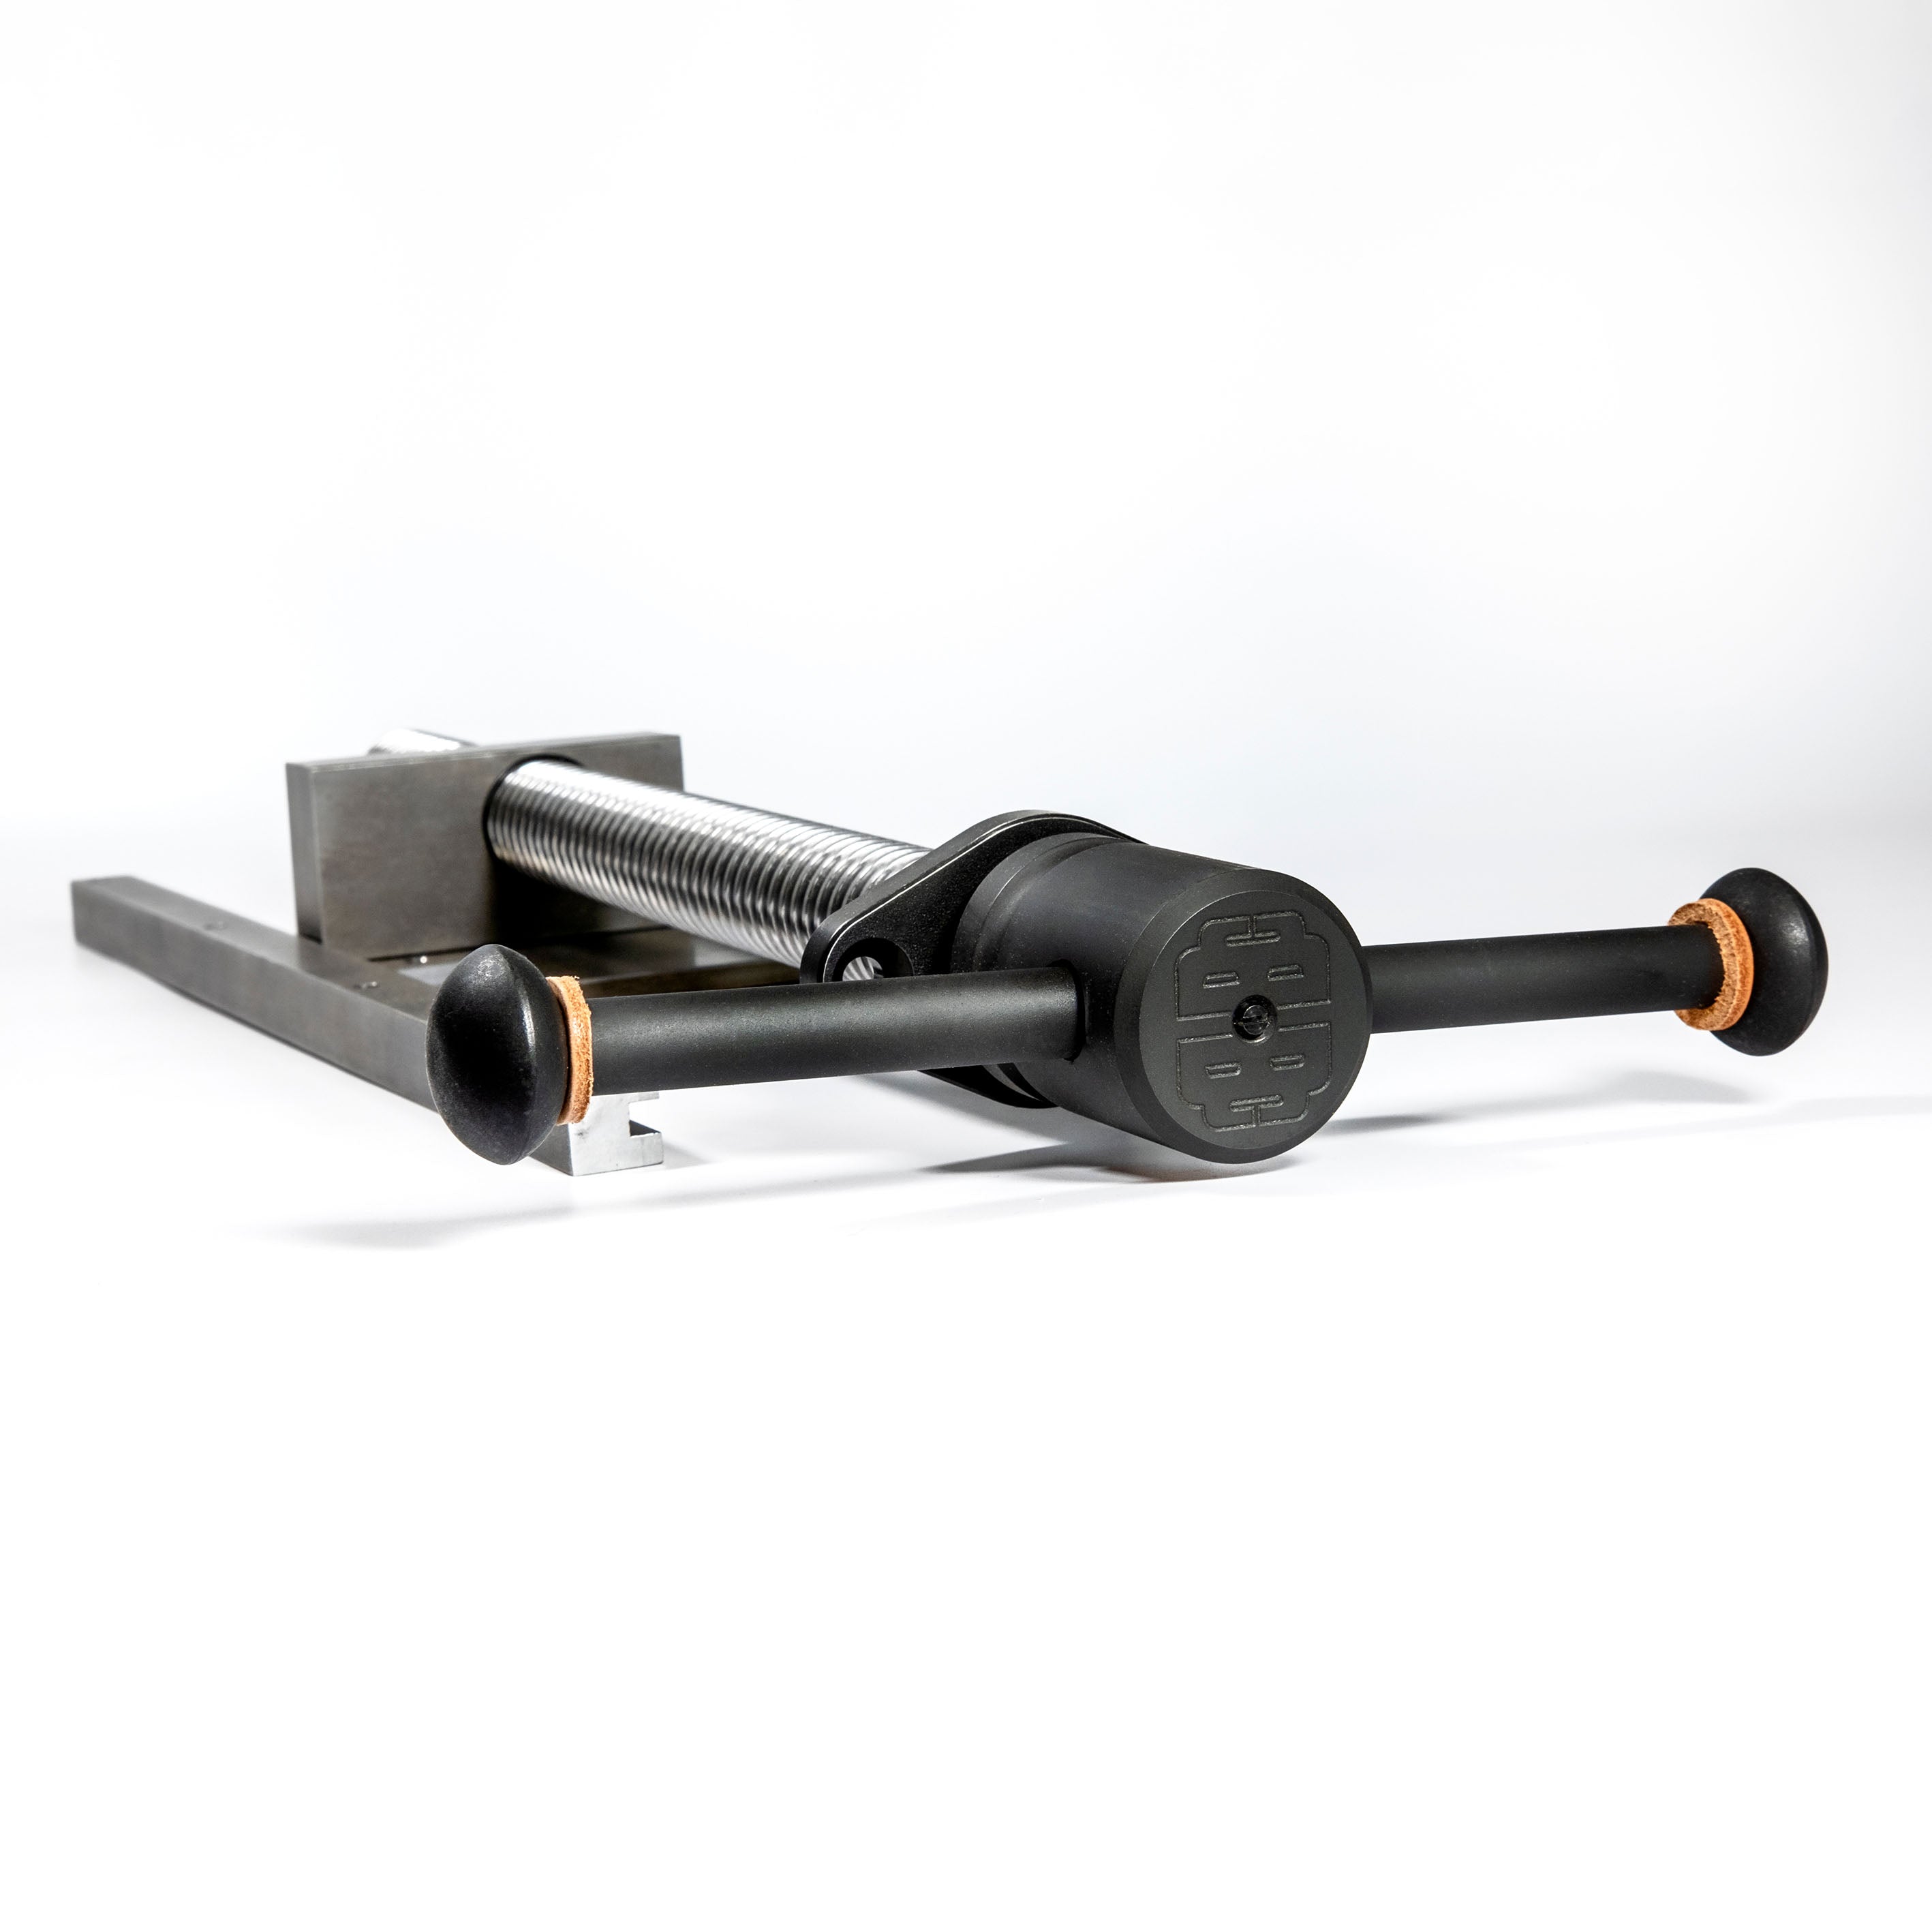
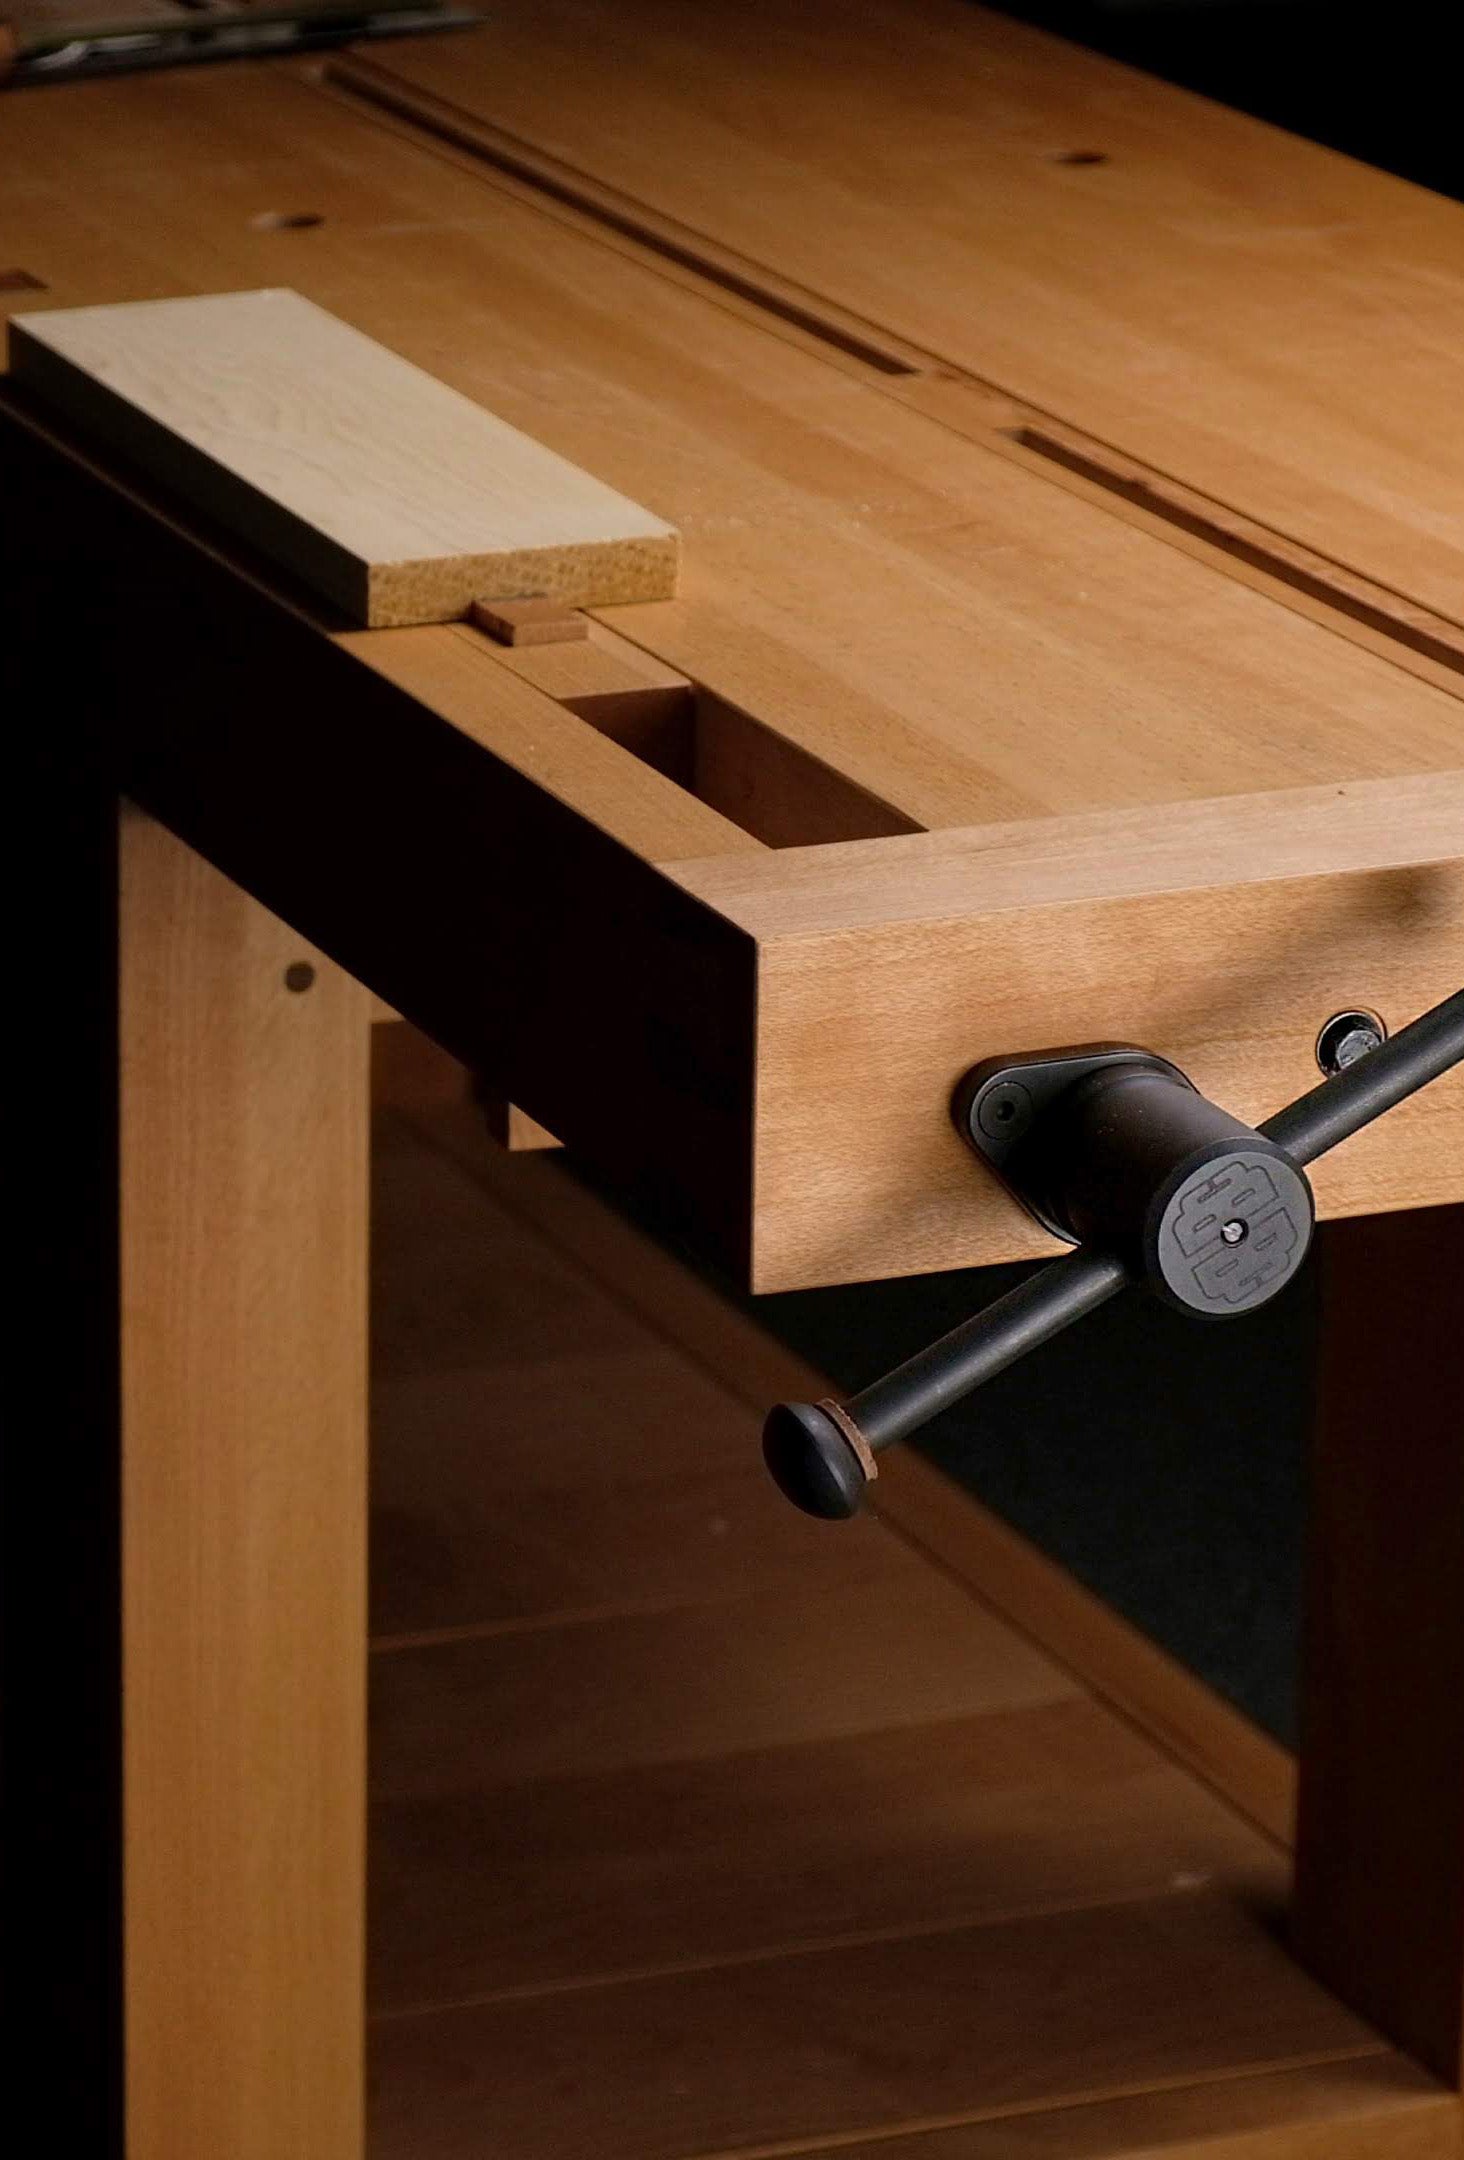
We offer three models of our Tail Vise. The handwheel-equipped Tail Vise in two finshes (M and C) and the Classic with balanced t-handle. The differences in each handle are mostly aesthetic. The handwheel offers a more compact, low-profile package, while the Classic t-handle gives a more traditional look. Both vises operate extremely smoothly and quickly. Gross adjustments are a bit quicker with the Classic. All Benchcrafted Tail Vises install identically.
Features and Capacities
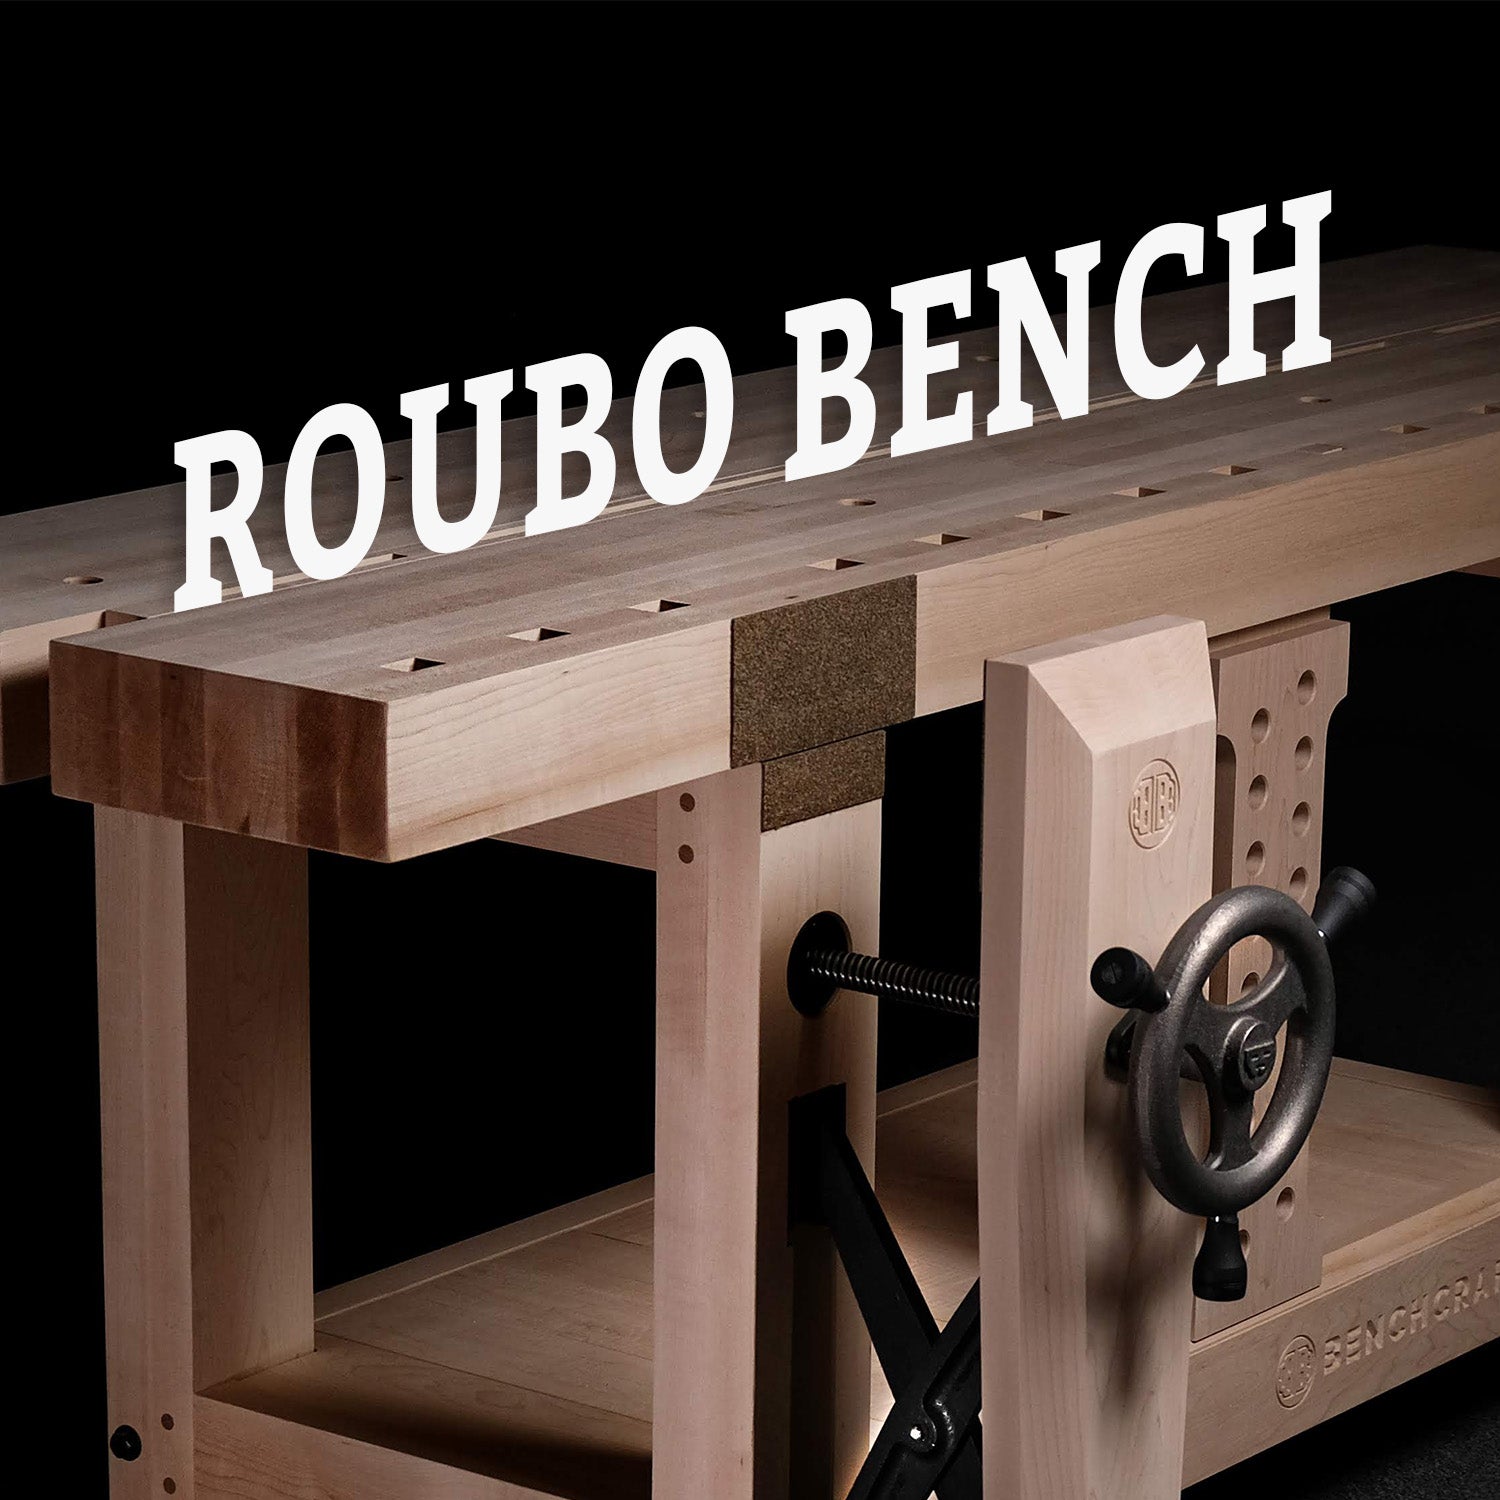
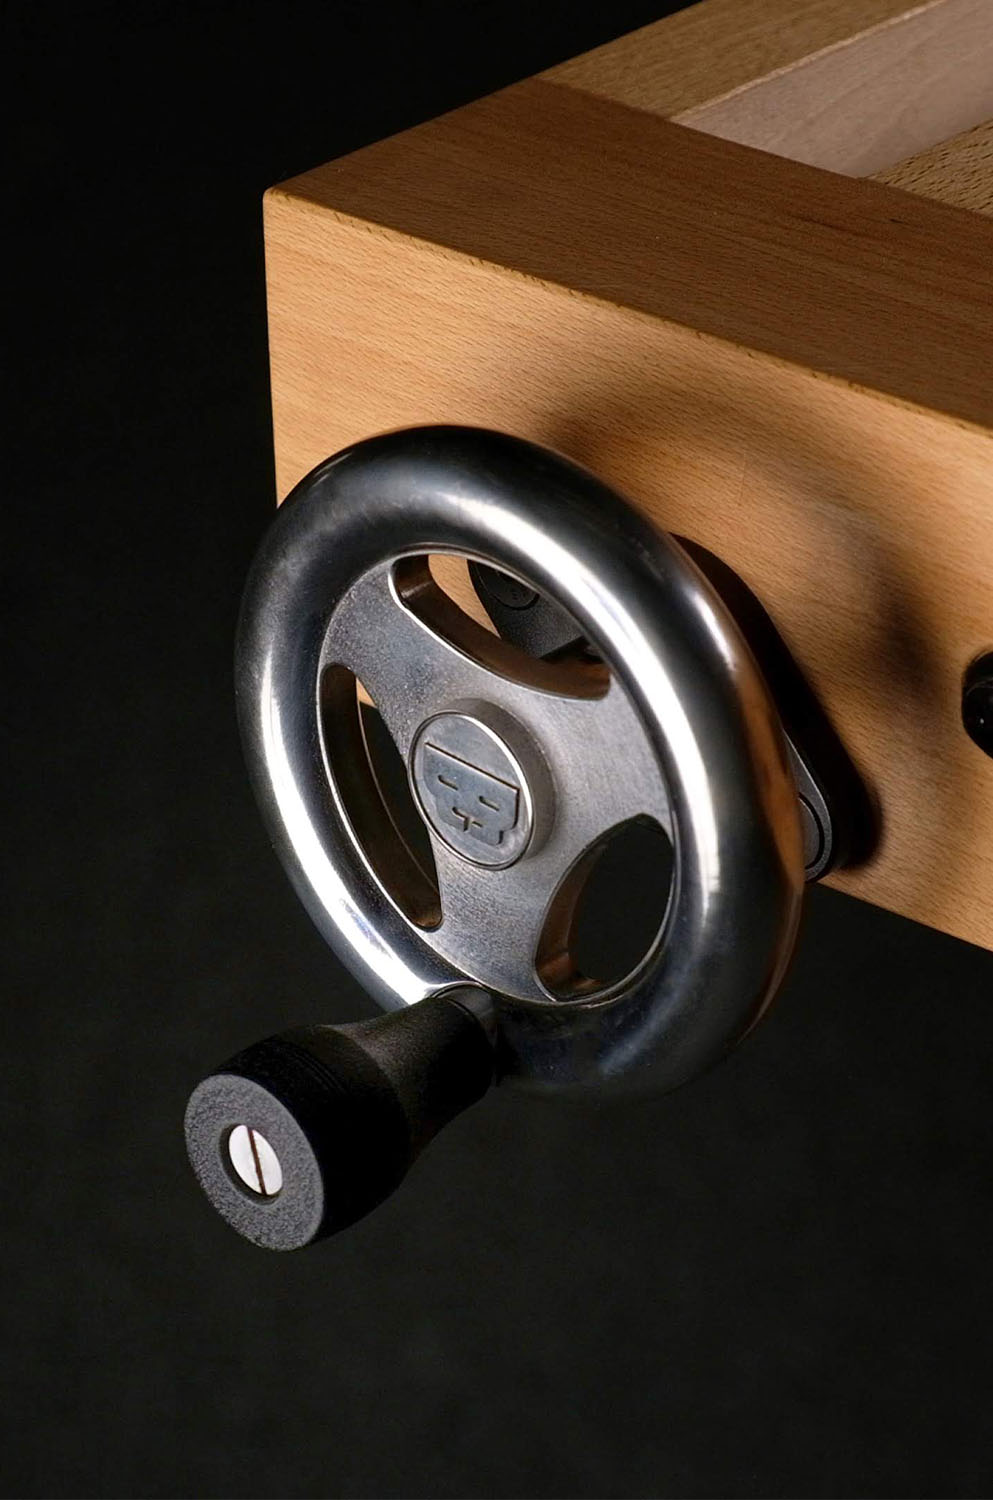
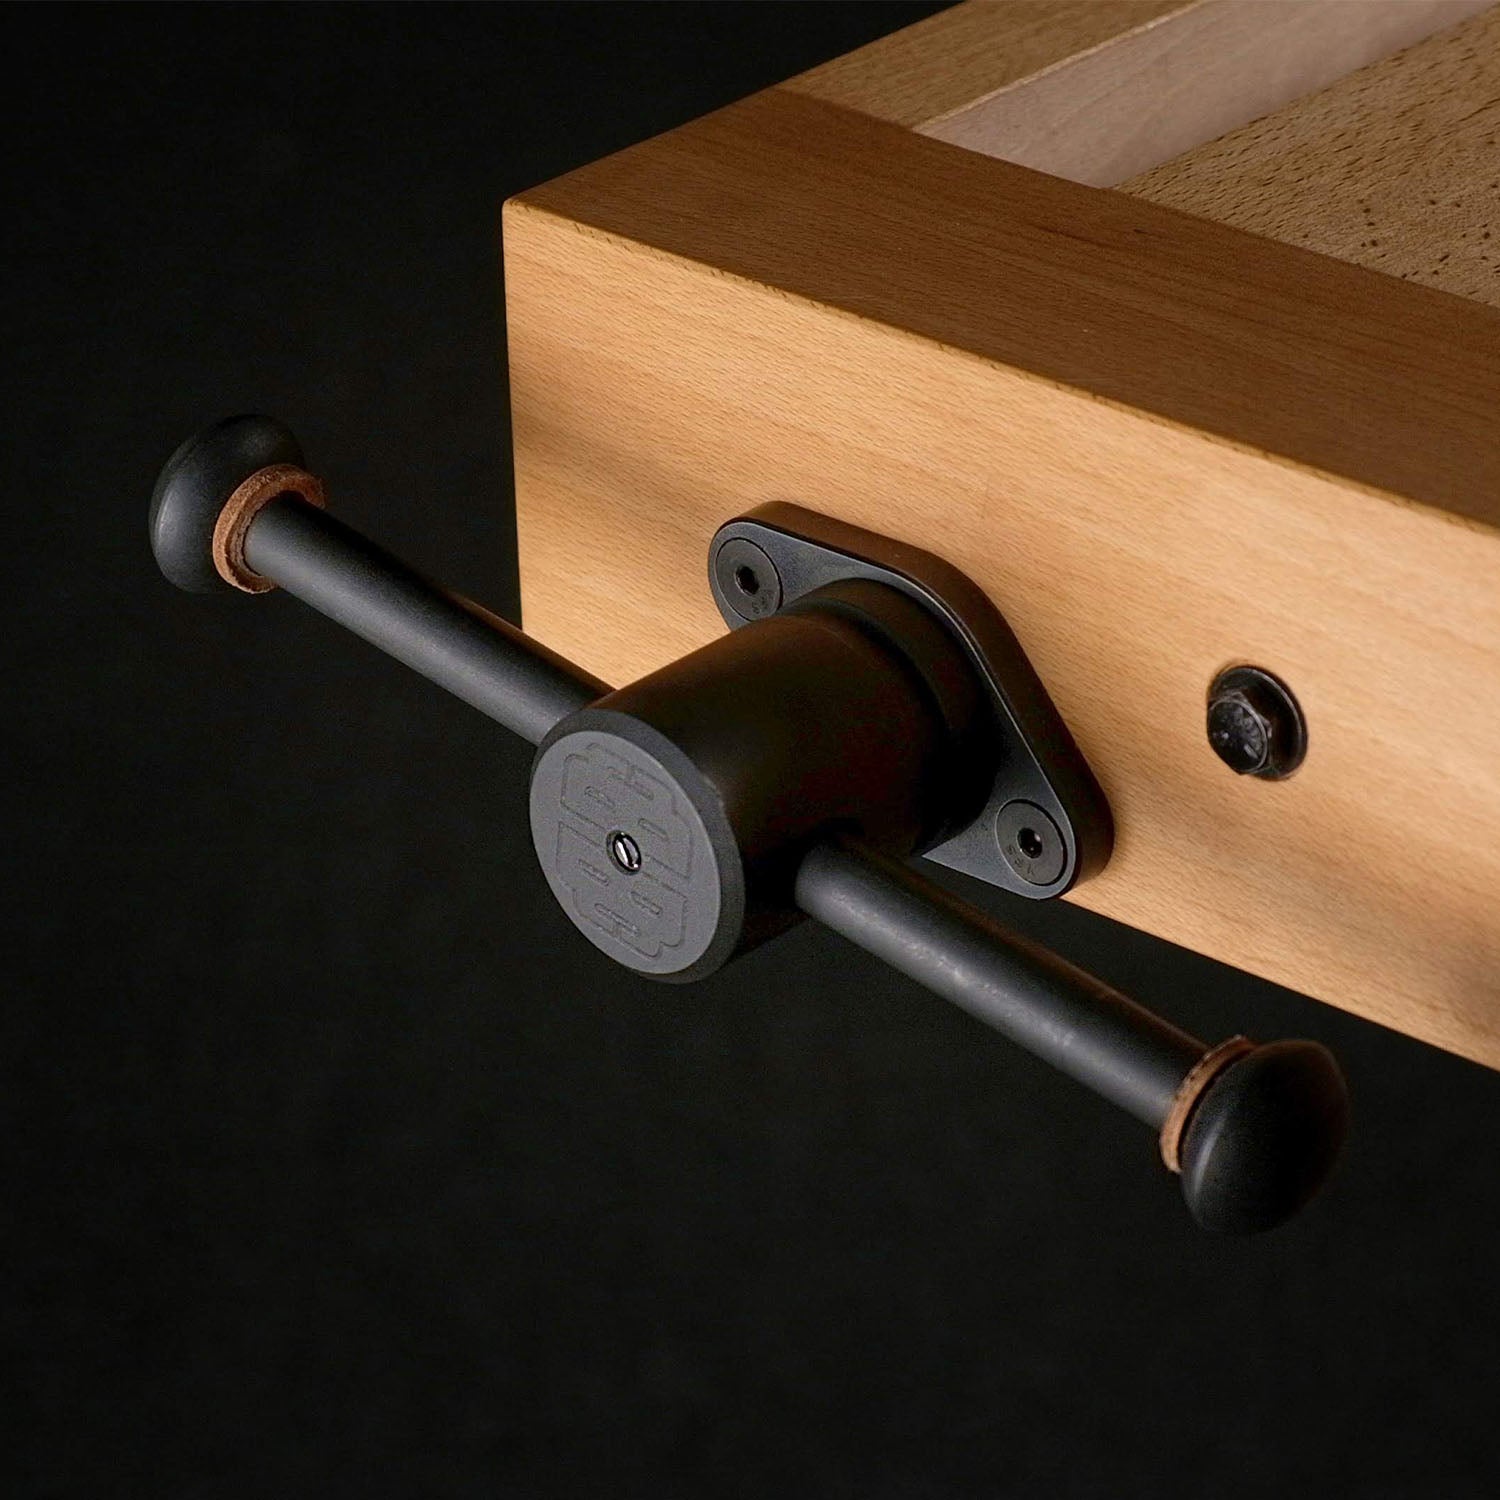
Clamping between dogs is the main job of any tail vise, and our Tail Vise excels at this task. The M and C handwheels allows one to adjust the vise quickly and precisely. The momentum of the cast iron wheel allows you to rapidly spin the dog block into position via the ergonomic wrinkle-coated knob. Grasping the rim of the wheel allows precise, controlled pressure to be exerted when approaching final position. The Classic Tail Vise hub is equipped, like our Classic Leg Vise, with an integral stainless steel spring plunger which engages with a v-groove machined into the center of the sliding handle that acts as a detent to center up the handle in the hub for balanced rotation. This allows the vise to spin rapidly and smoothly for gross adjustments. The spring plunger tension is adjustable. A tighter setting makes it easier and quicker to center up the handle, but may keep the handle from sliding as freely. There is a sweet spot that allows quick engaging with the spring plunger and easier sliding. The plunger can be completely disengaged if desired. The spring plunger also allows repositioning of the handle so it’s not interfering with your work or your body. Leather shock washers further refine the handle’s function. The T-handle can be positioned for exerting greater force for clamping operations, or, by reversing the dogs, for use as a spreader when disassembling joinery in repair work.
Vertical clamping between vise jaws can be easily accomplished with the Tail Vise, and when lined with the included Crubber, the grip is tenacious. This is an ideal vise for working the ends of smaller boards. The vise, when installed at its maximum capacity and using a 5" long dog block, is capable of handling an 11-3/4" wide board. Maximum travel is 12-1/4" using a 2-7/8" end cap. These capacities vary slightly depending on installation.
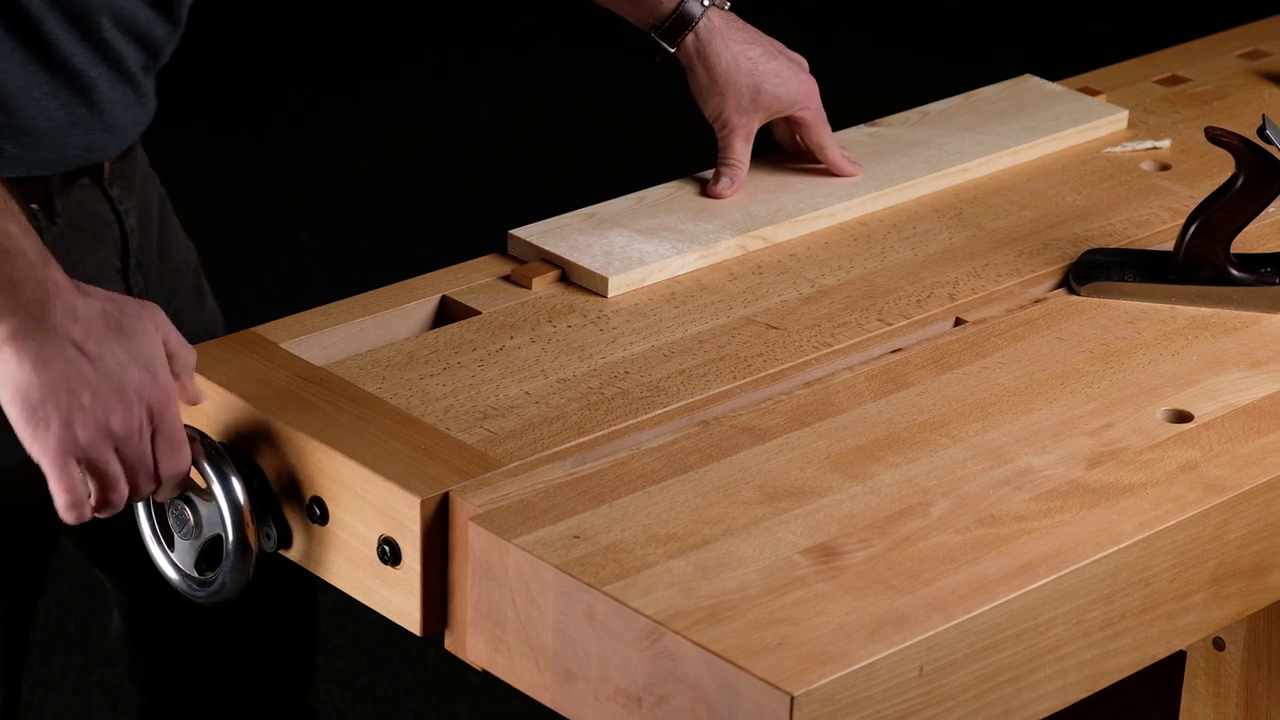
Video
Specifications
Cast and machined from steel components
Designed and made in the USA
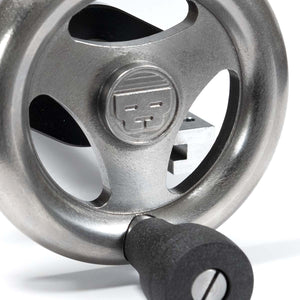
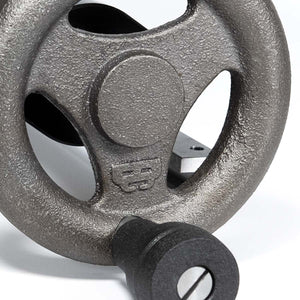
Fully-machined 5" diameter cast-iron hand wheel
5" diameter cast-iron hand wheel
2” diameter hub with integral spring plunger, black oxide
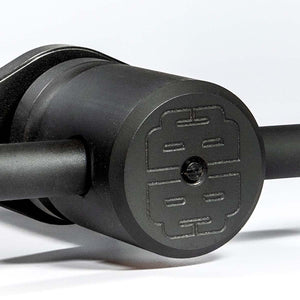
Satin black, wrinkle coated, aluminum knob
Satin black, wrinkle coated, aluminum knob
9” handle assembly with central v-groove and leather shock washers, black oxide
| All Models |
Rolled carbon-steel acme-threaded 1¼" dia. screw with 4 tpi pitch strikes a balance between rapid movement & controlled gradual clamping pressure
| All Models |
1" thick acme nut milled from solid billet of cold rolled steel
| All Models |
1/4" thick cold-rolled steel milled to accommodate square or round dogs
| All Models |
Cold-rolled steel guide rails support the robust sliding plate assembly, which runs in precisely milled grooves
| All Models |
3/8" thick steel flange, black oxide finish
Crubber material to line the jaws for a tenacious, non-marring grip
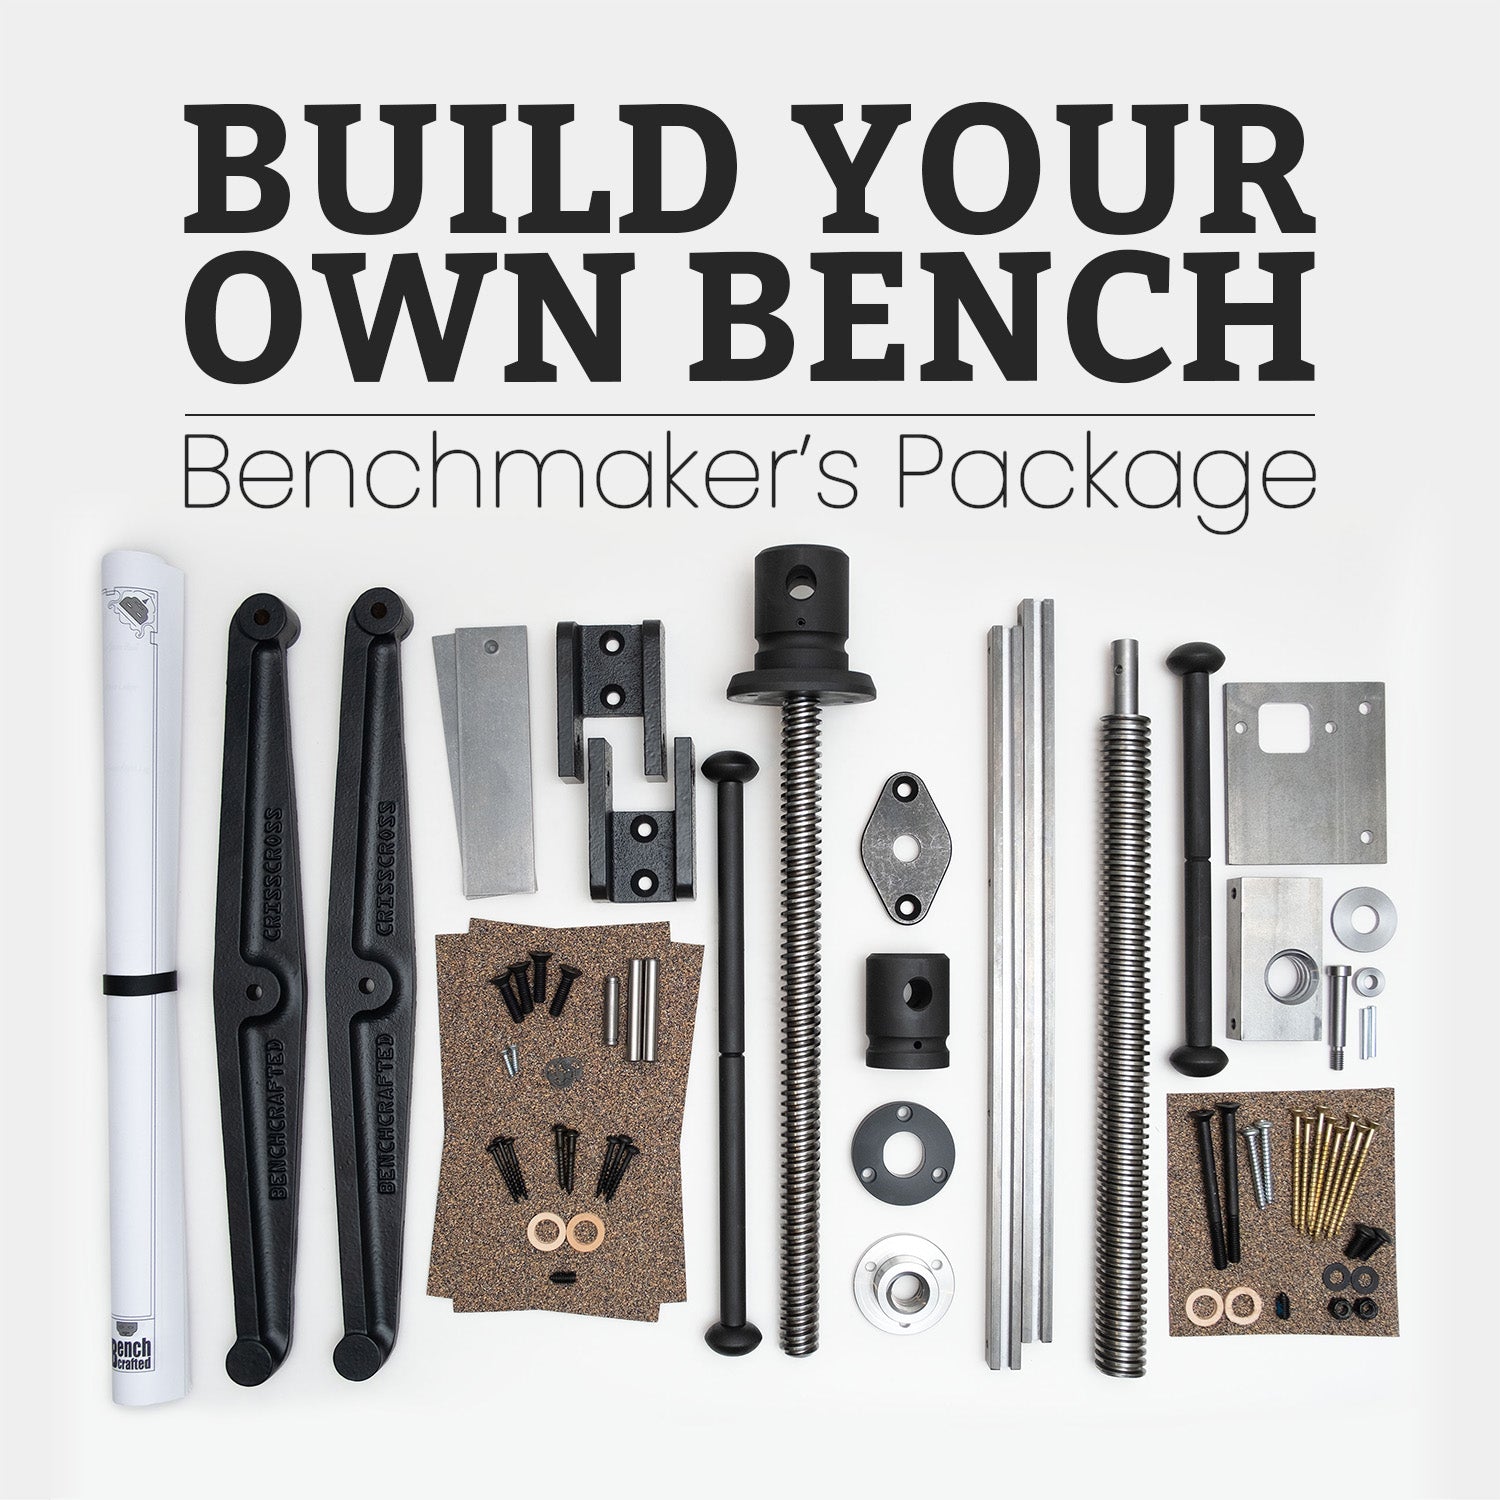
All components needed to build the vise into your workbench
Installation Instructions
Installation instructions for all our products are supplied only in PDF format. Please download and review the instructions before using your product.
Similar Products