


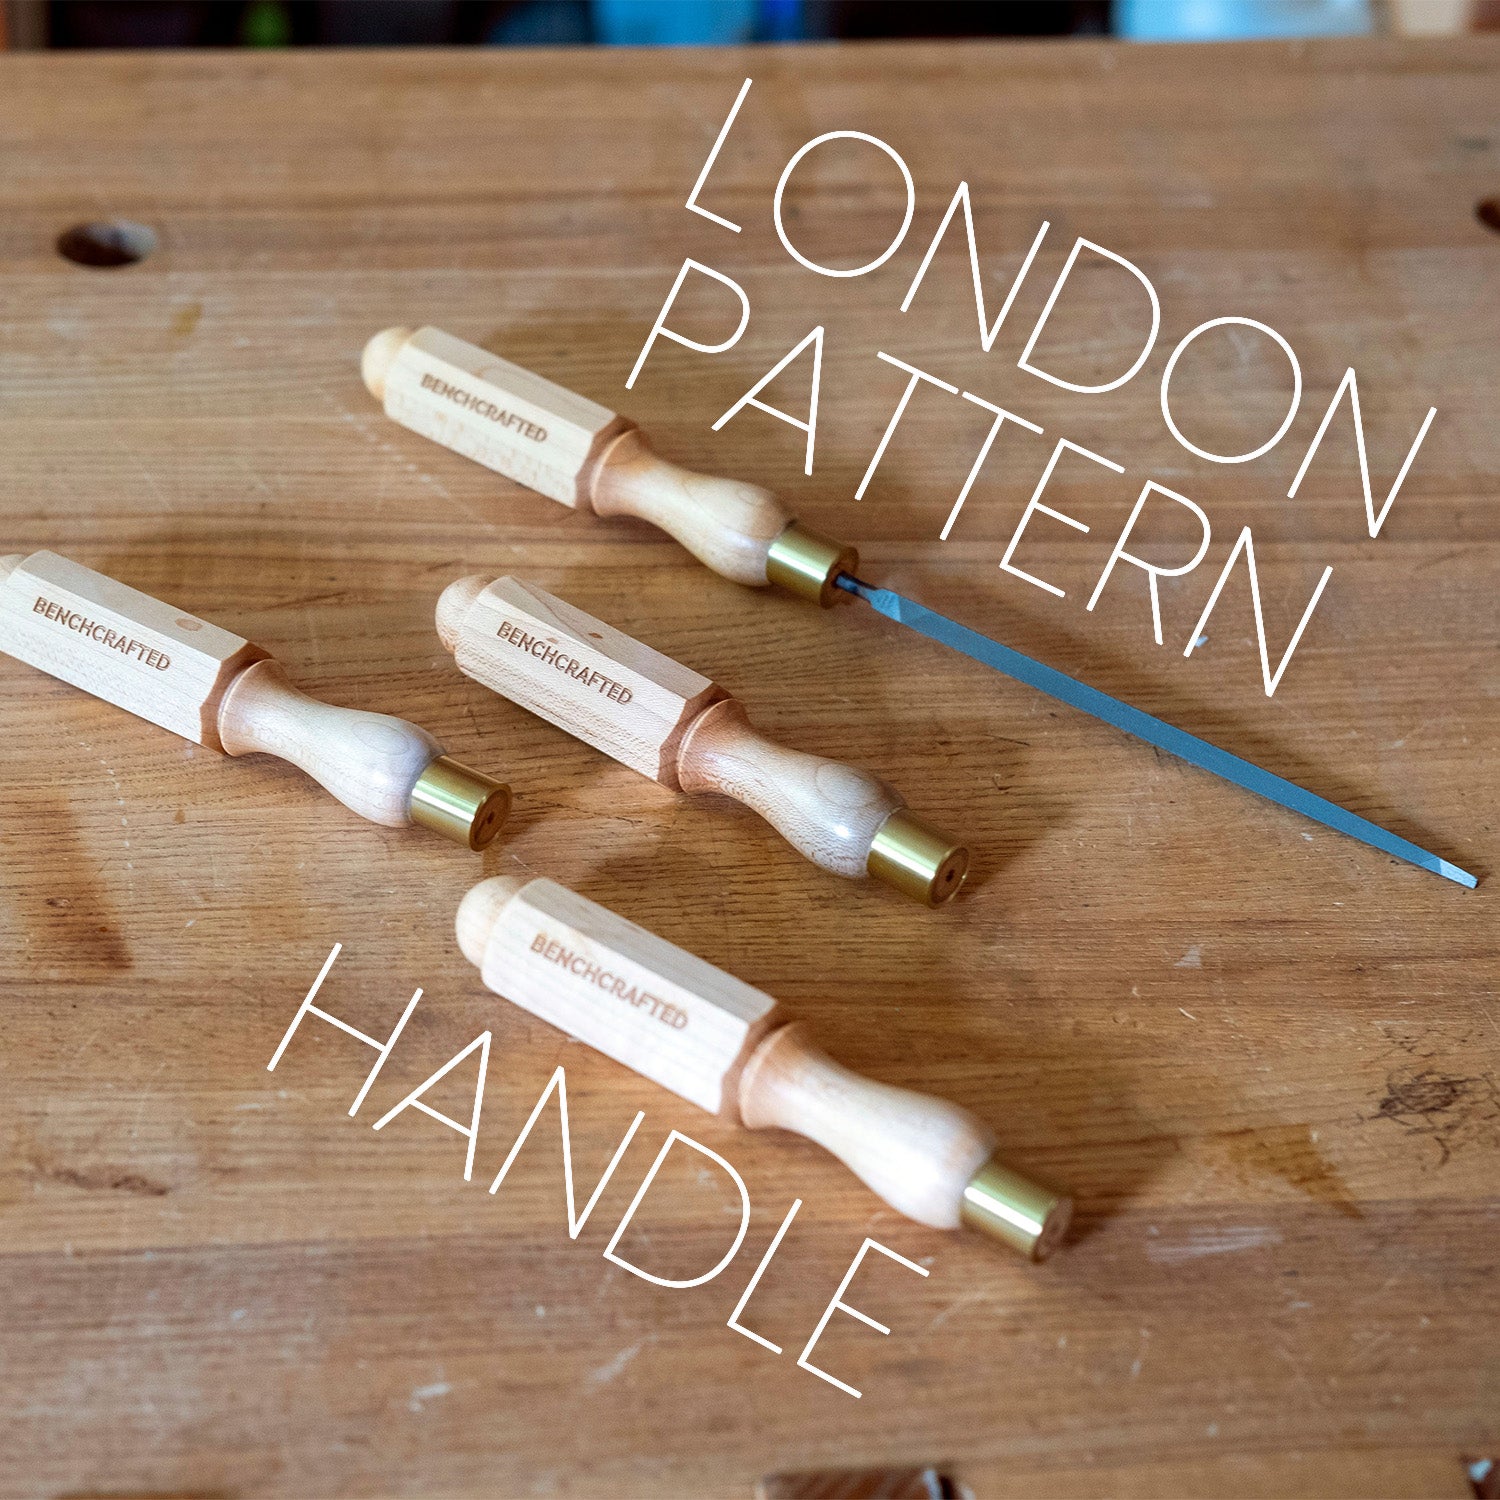
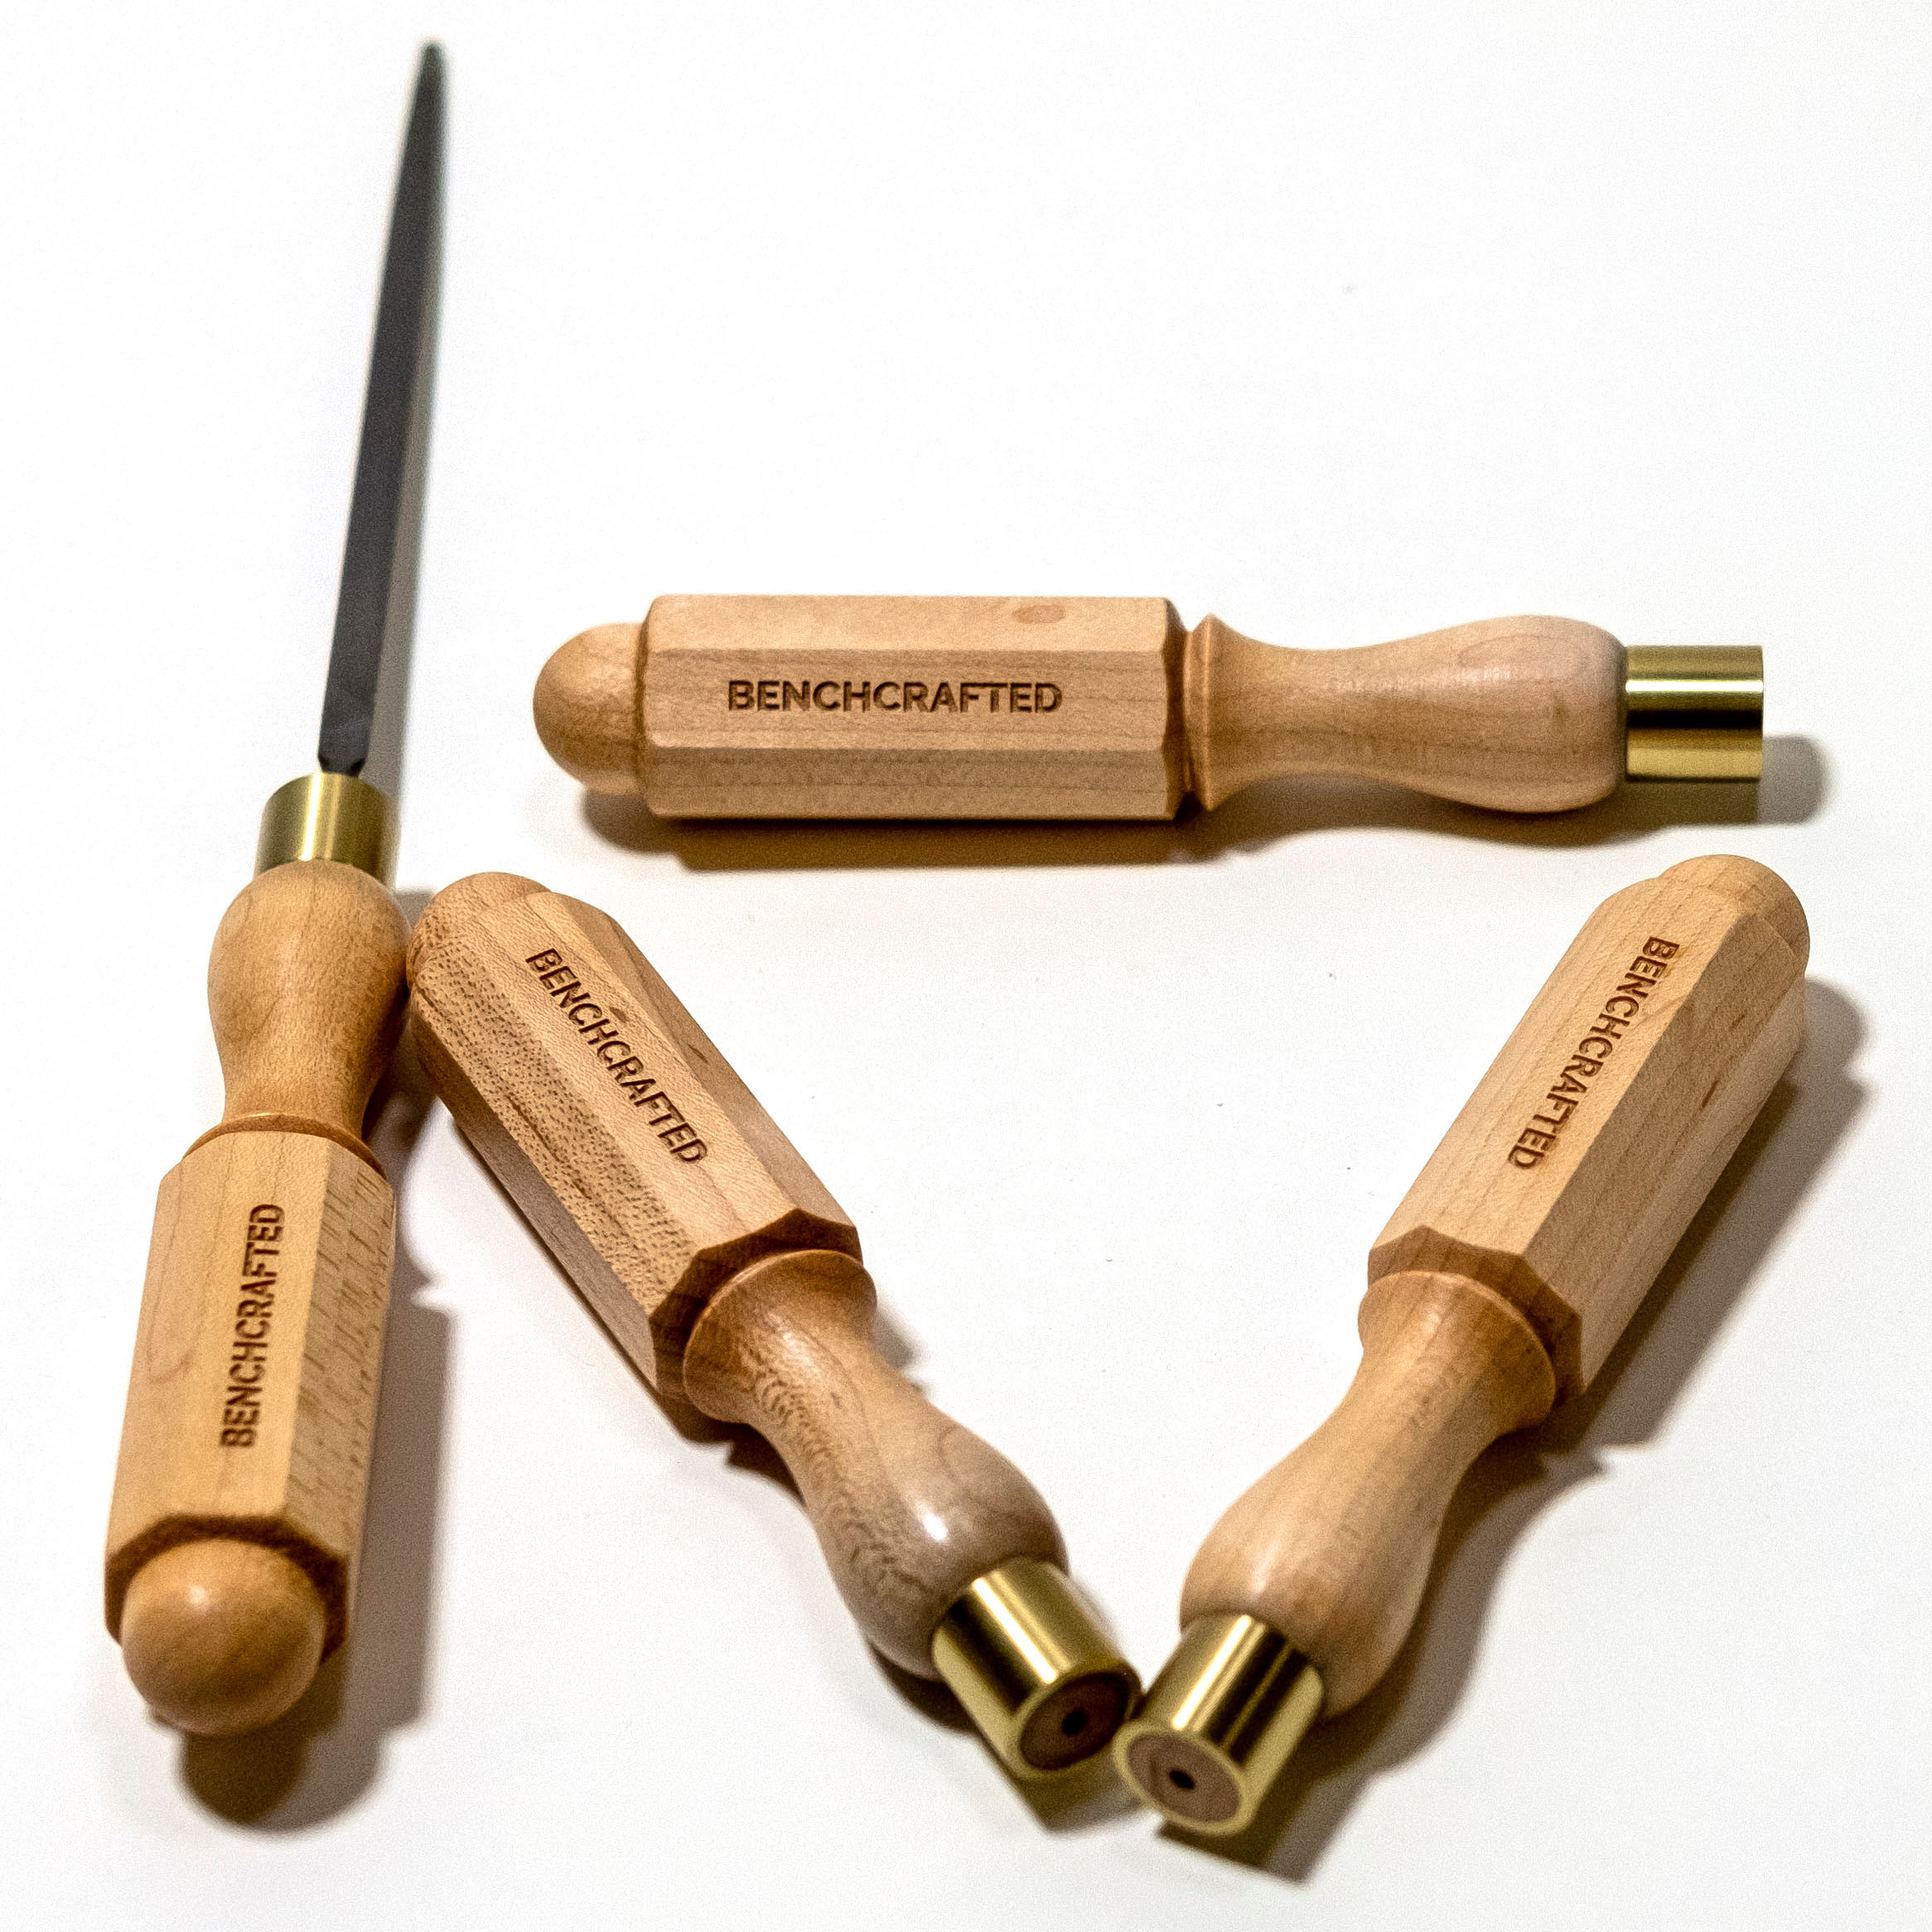

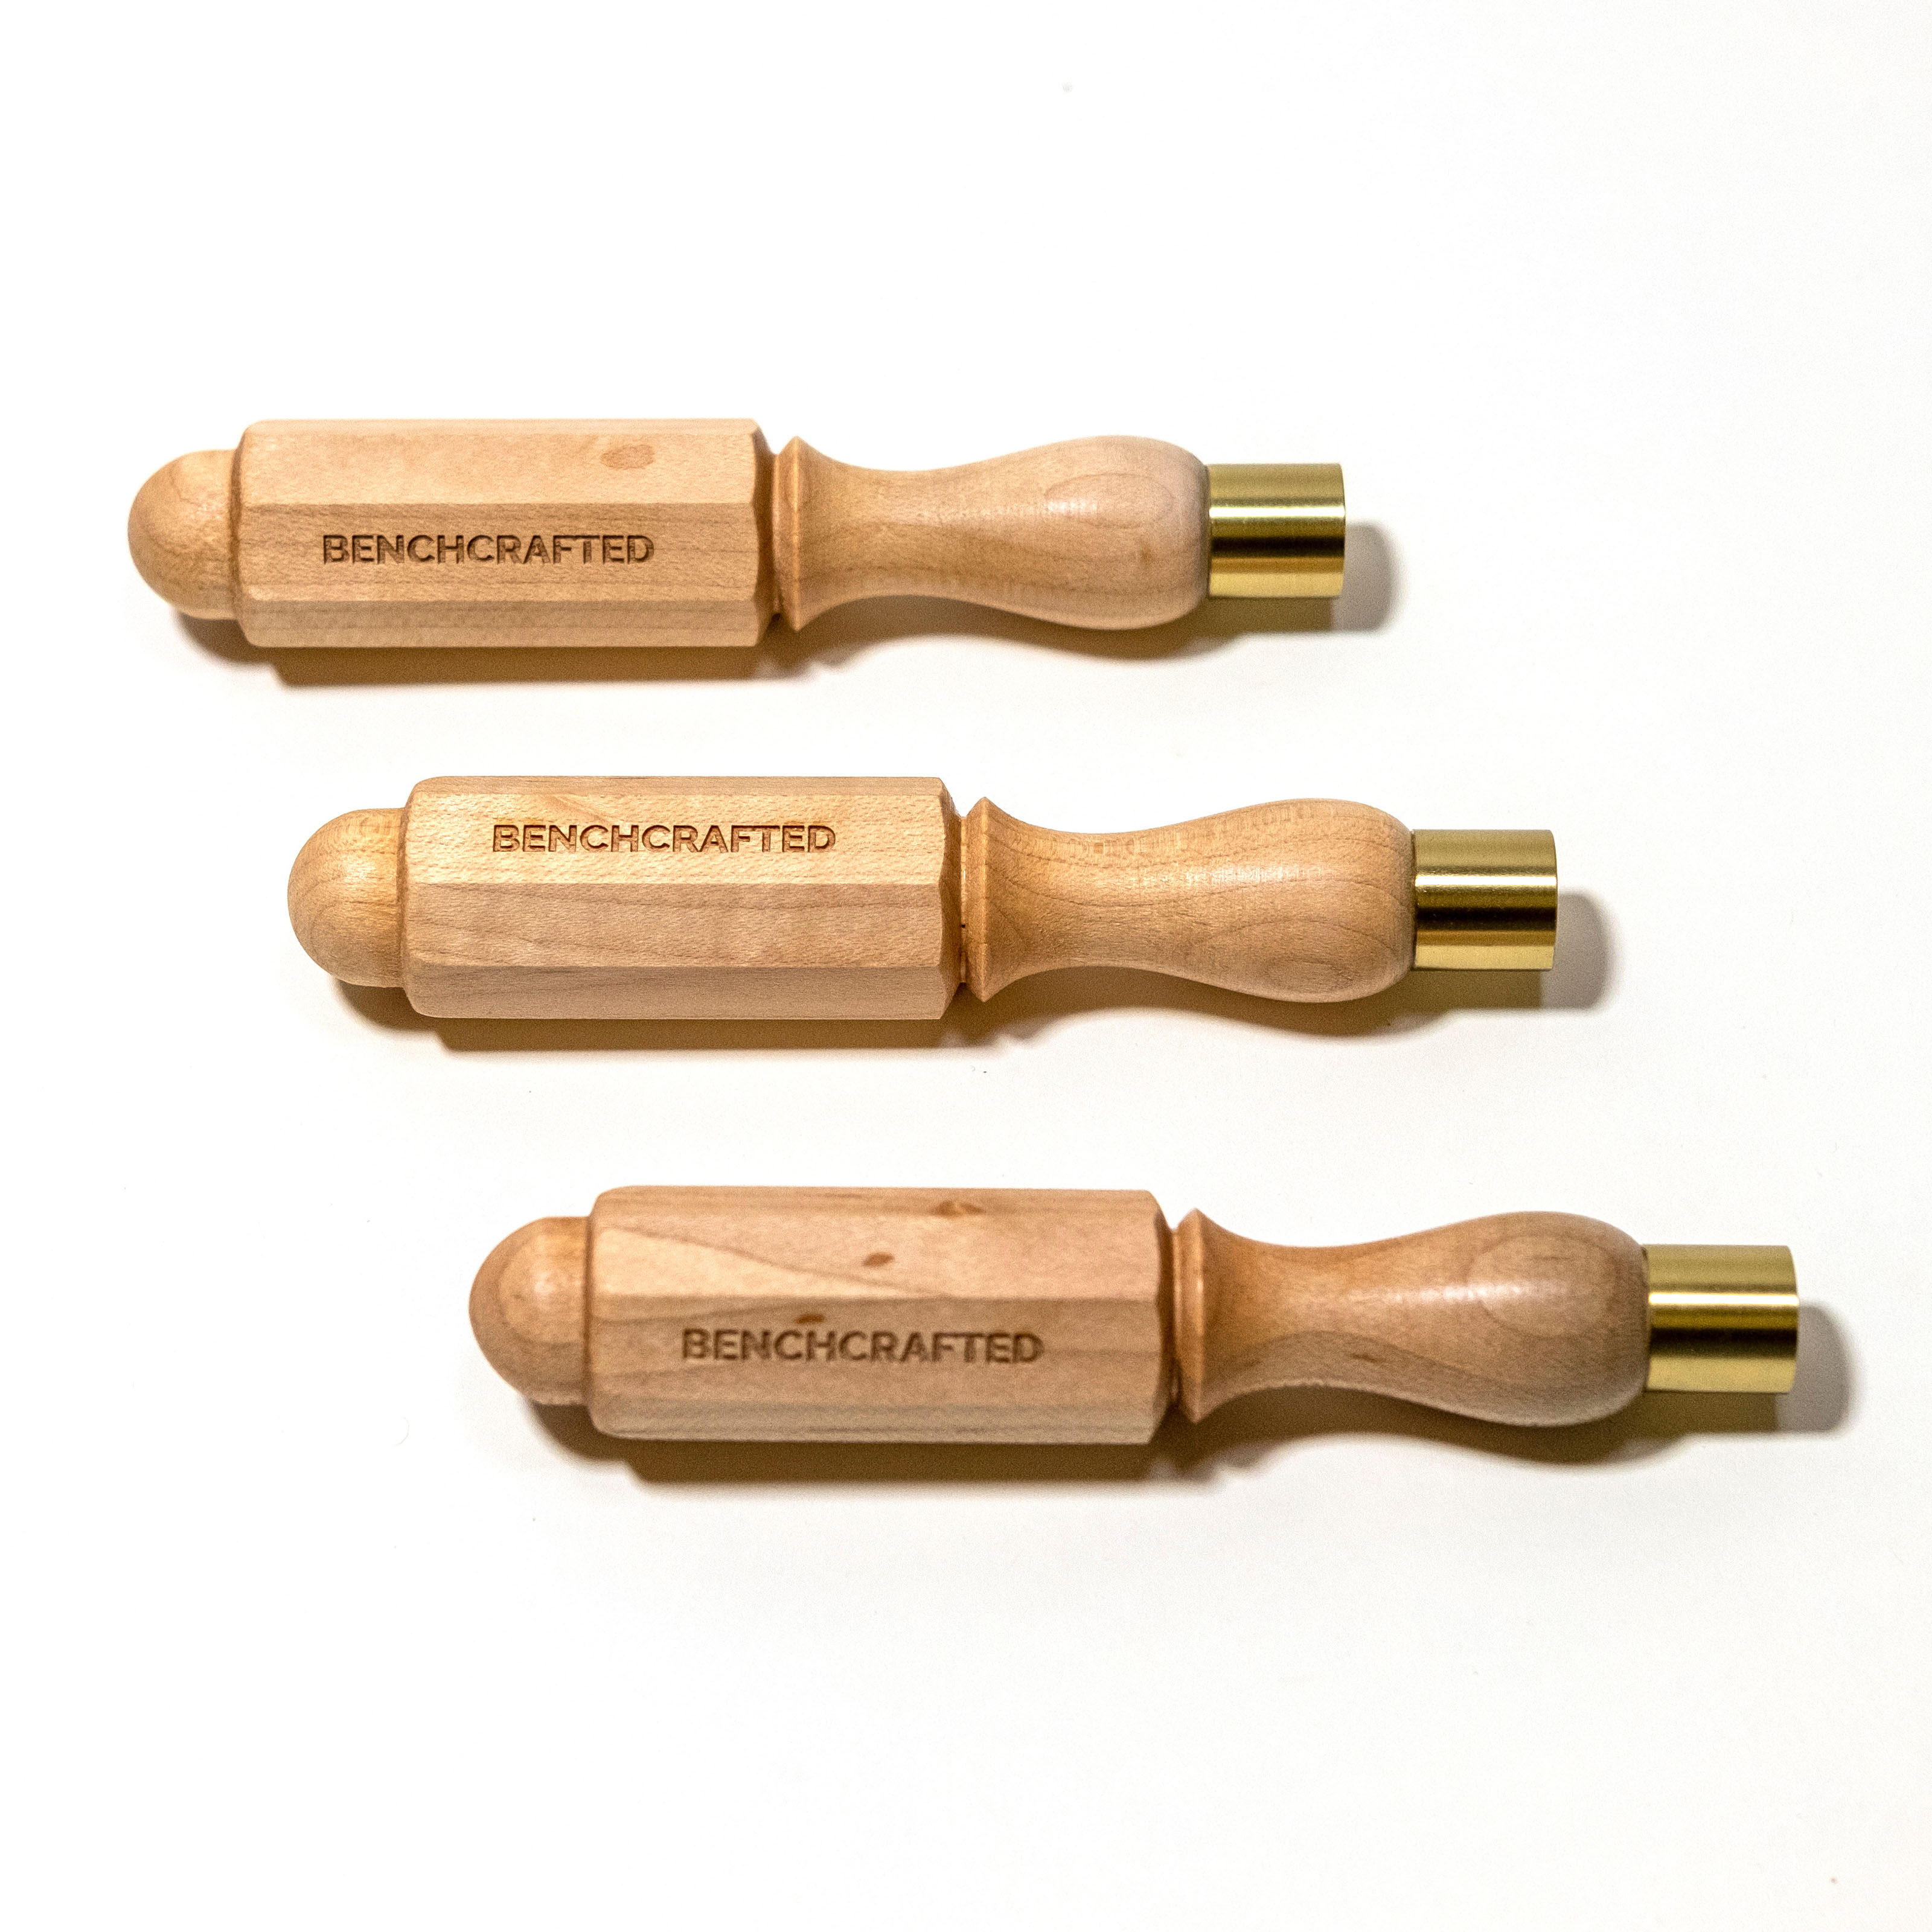
London Pattern Handle
Benchcrafted London Pattern Handles are based on the classic English design. Our version was designed in collaboration with Sauer & Steiner Toolworks.
Handle with brass ferrule only - No file included
There’s a reason for their popularity over the past century, besides their shapely appearance. The octagonal facets keep your tool from rolling off the bench, provide resistance in the hand, and allow precise control to be applied with minimal effort. The facets also provide grip and allow you to track the position of the tool when filing, paring or carving. The swelling just behind the ferrule coupled with the narrowed transition provide for a variety of grips. The rounded butt end nestles in your hand for long periods of comfortable use. The handle is sized for small to medium sized bench chisels, files and carving tools, but a variety of other tools can be fit as well. We recommend only very light taps with a wooden mallet to avoid damage to the handle.
Each handle is fitted with an extra thick brass ferrule for resistance to splitting. The ferrule wall is 1/16” thick, ⅝” long and ⅝” diameter.
The handle is 5-½” long overall, and 1” thick at the octagonal section.
Made to exacting standards with the fit and finish of fine furniture.
Each handle is pre-drilled with a ⅛” pilot hole to help you get started fitting your tool.
Typically made of English boxwood, but because of its relative rarity nowadays we’ve chosen American Rock Maple for its extreme durability and availability. Lacquer finish.
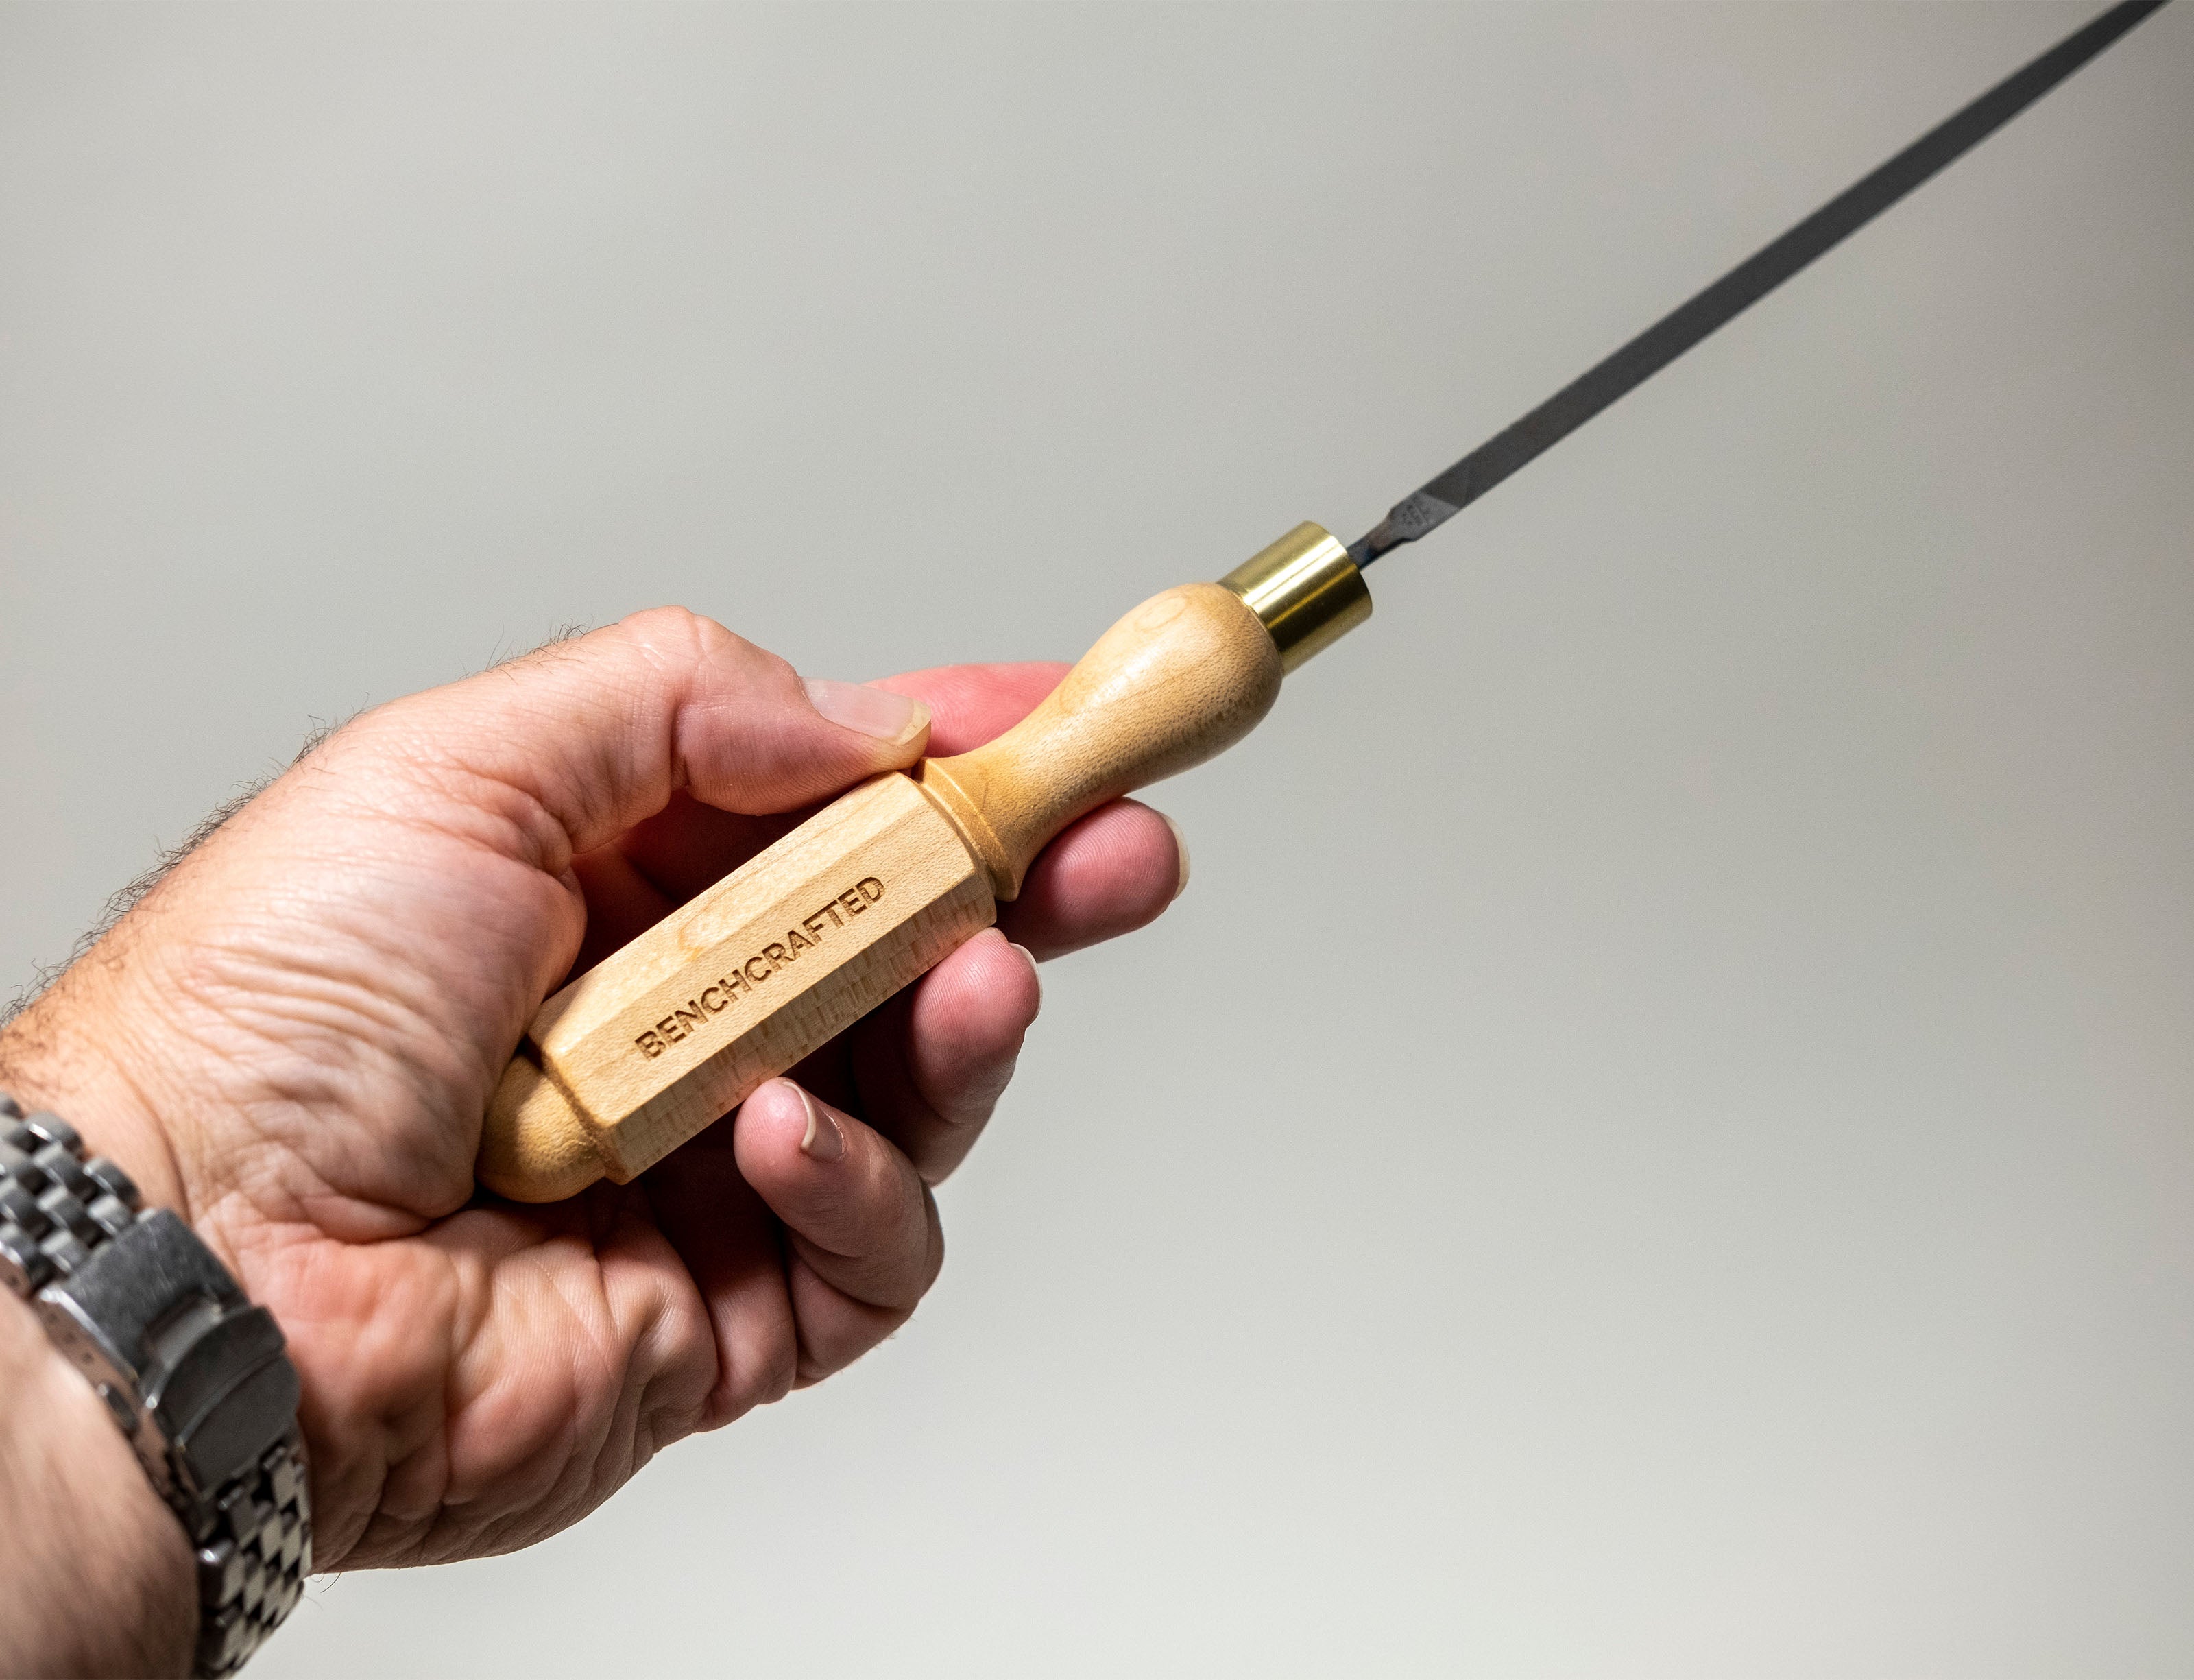
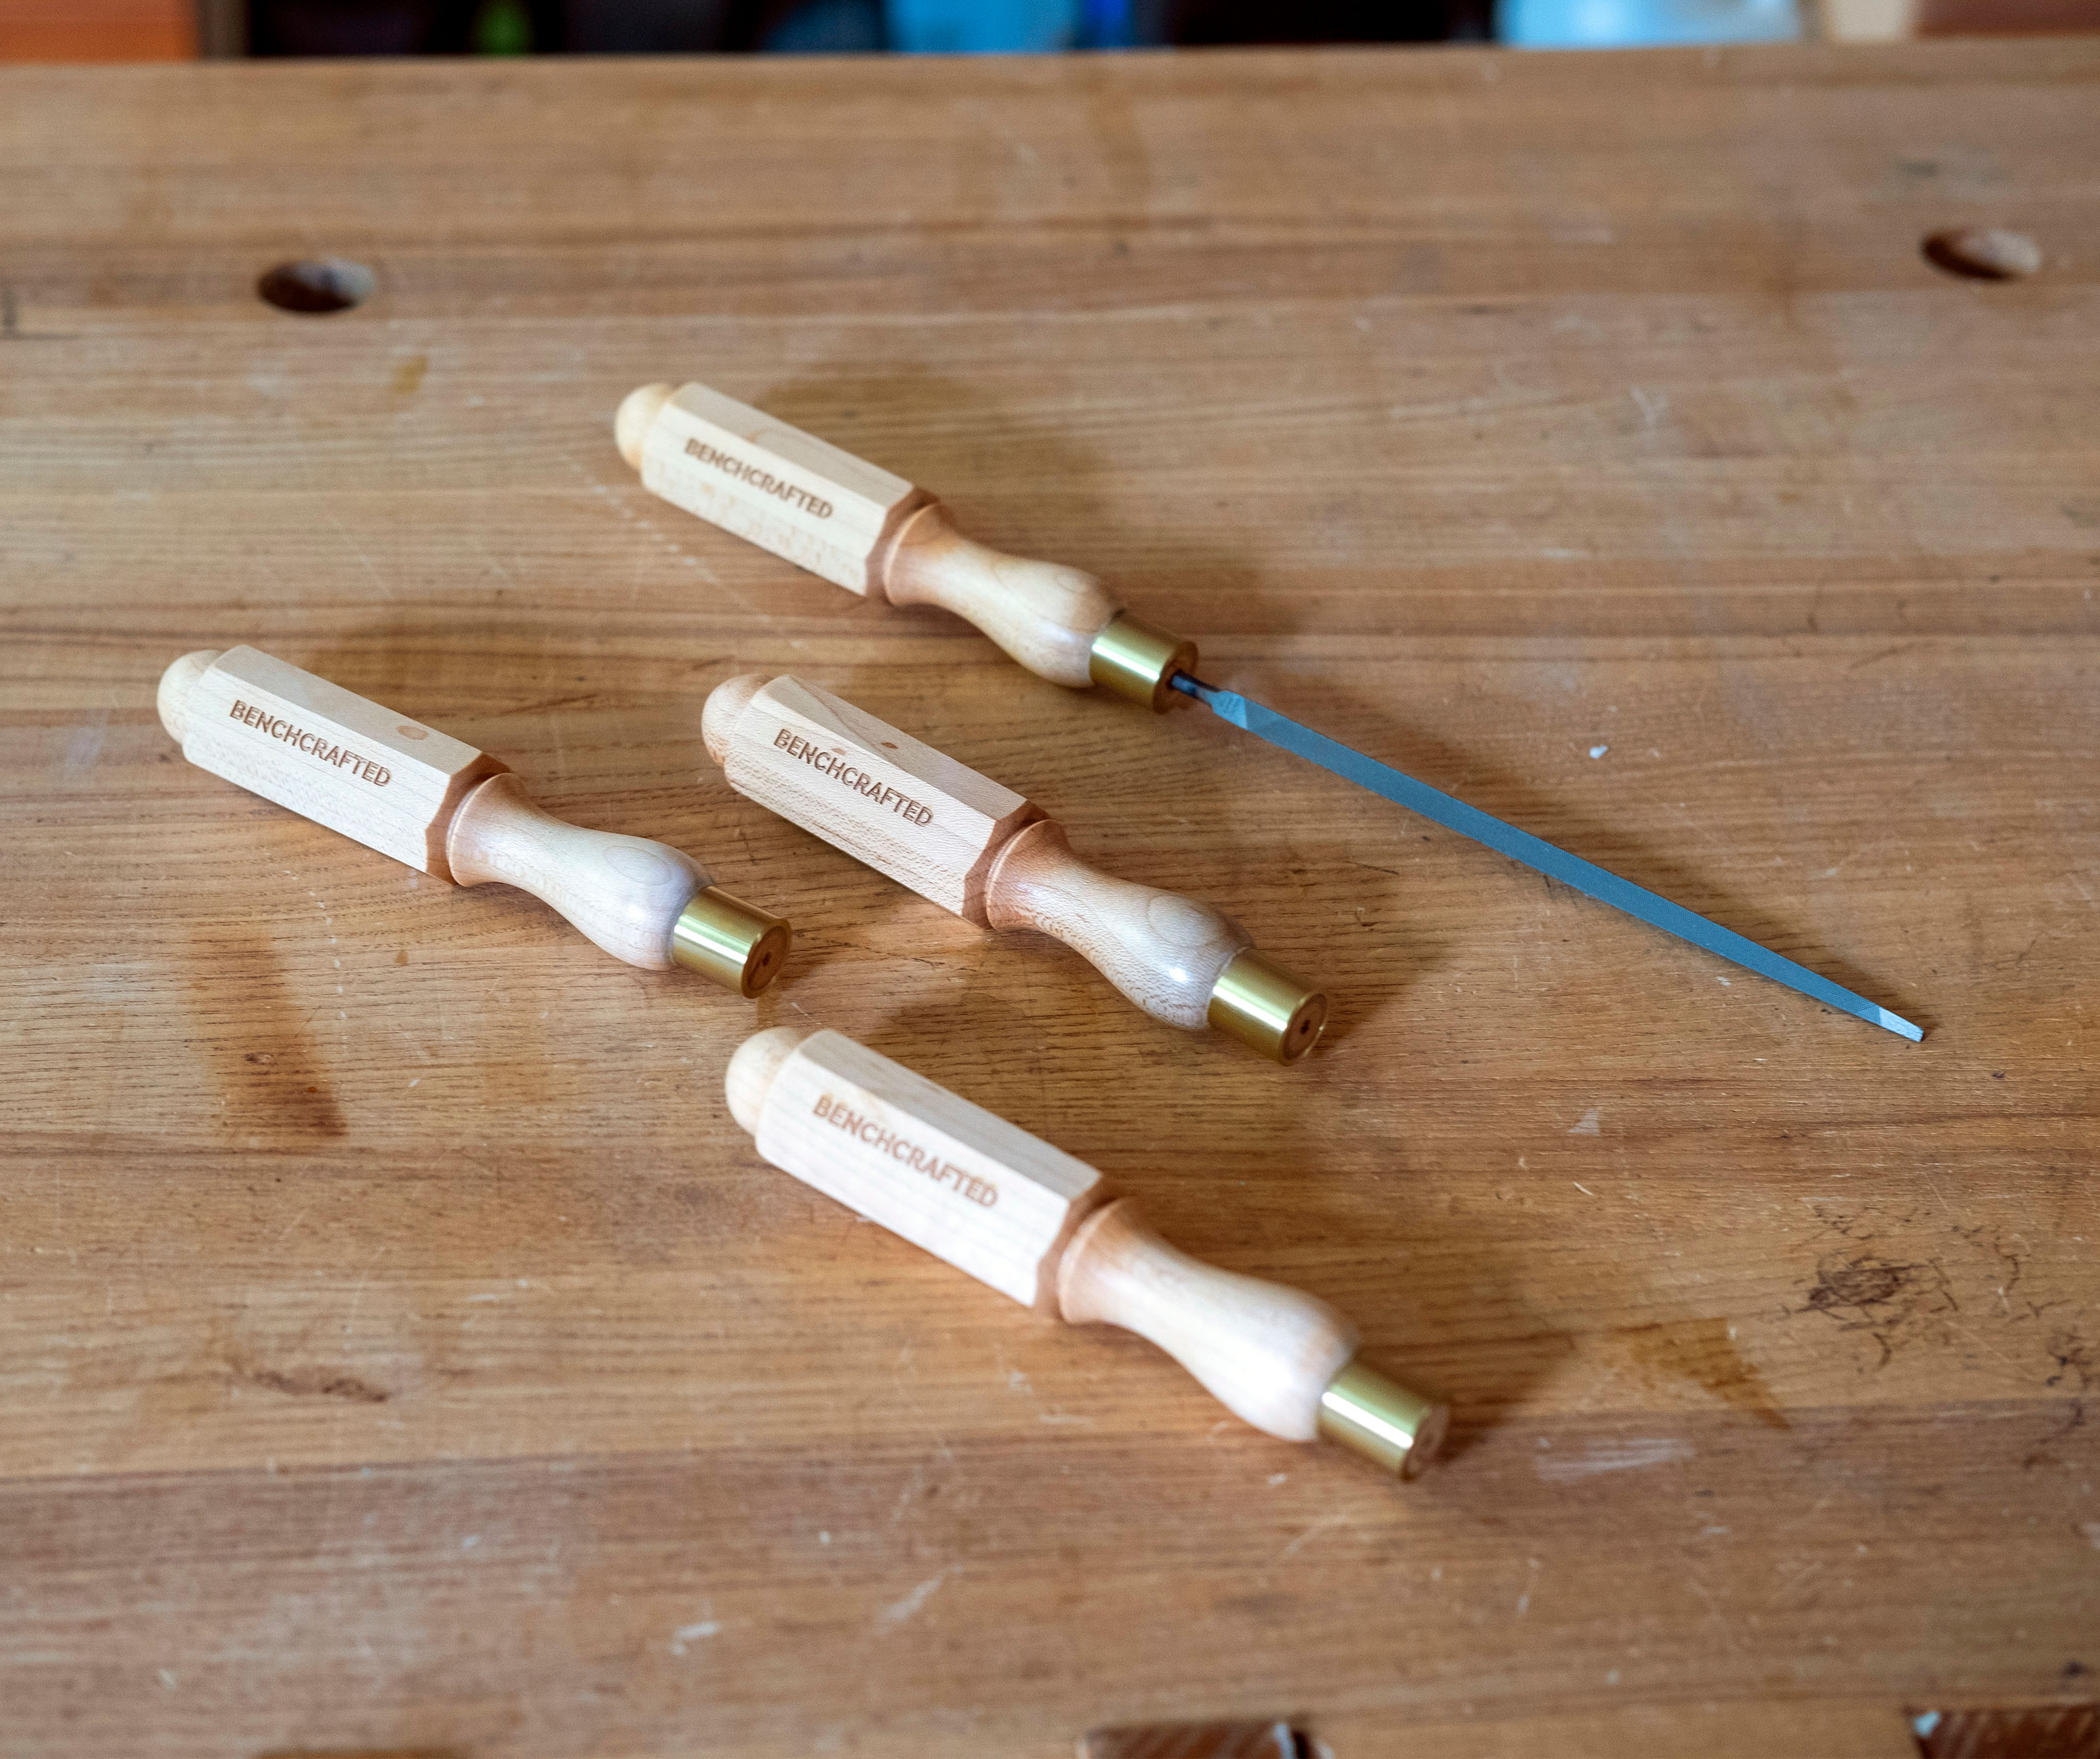
Fitting a tool to the handle
Fitting a tool to the handle is simple. For square-tang tools like chisels or files there are two approaches. One is to use a stepped or tapered hole to mimic the shape of the tang. You’ll want the hole to be slightly smaller than the tang for a good, tight fit. Tapered bits meant for drilling pilot holes for wood screws work well, or you can use progressively smaller bits to approximate the taper. Start with the large bit and work to the smaller sizes. Drive the handle onto the tool with firm hammer taps. Another method is to heat the tang with a torch until it just starts to glow, then using gloves to protect your hands, install the handle onto the tang with firm taps of a hammer. The hot tang will burn its shape into the handle and create a perfect fit. Make sure you keep the handle in line with the tool. Don’t drive the handle all the way onto the tang, but stop a little short, about ⅛” -¼”or so of your final position, allow the tool to cool for a few minutes, then finish tapping the handle firmly onto the tang to seat it. Other shaped tools can be fit using the same techniques. Using epoxy is also an option for oddly shaped tools.
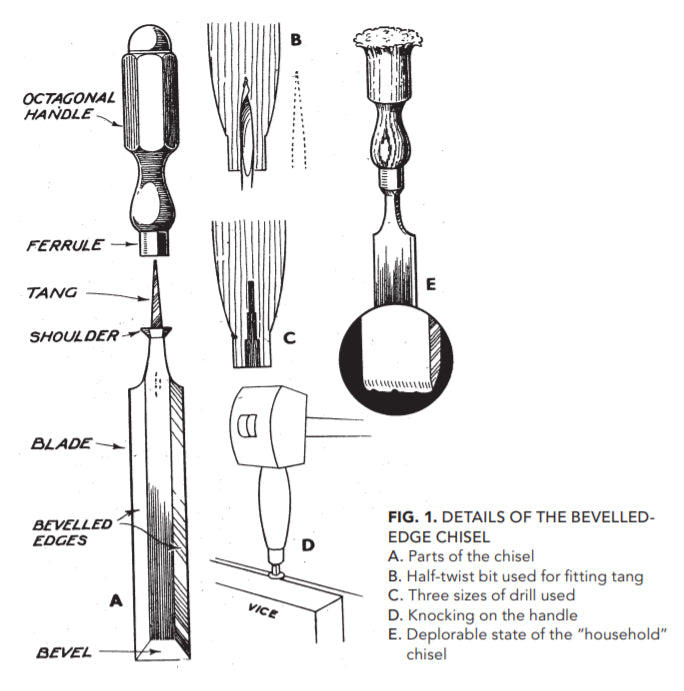
Charles Hayward on the London Pattern Handle and its fitting up
from The Woodworker: The Charles Hayward Years - Lost Art Press
{used with permission}
Such a chisel...may have the octagonal kind. Few manufacturers today, however, list this octagonal handle, presumably because of its greater cost. There are, however, many of them in use. It is clearly not intended to be struck with the mallet because the rounded end offers too small an area for impact, and is intended simply to offer a comfortable shape to the hand. One advantage of the type is that it is not so liable to roll off the bench, especially in the smaller sizes. Some claim that the octagonal shape gives a more rigid grip to the tool. A new handle is easily fitted. Select one of a size that gives balance.
Too large a handle means that you will unconsciously exert more pressure than the tool will bear, whilst a small one fitted to a wide blade will result in poor control and inadequate power.
You will probably find that the tang is too tight a fit in the hole and the latter will need easing. If you have a halftwist bit of about the right size you can use this because it is tapered in general form as shown at B, and so agrees with the taper of the tang. Otherwise you will have to ease the hole with drills of two or three sizes as at C. In this way the “steps” will approximate to the taper and will give to the shape when knocked in. In any case allow the tang to enter until the shoulder is 1∕4 in. or so from the ferrule (allow rather more for large chisels). Then, placing the blade in the vice so that shoulder bears on the jaws, knock home with the mallet as shown at D. Sometimes a handle becomes loose, a fatal fault. It means that you have no control, and it is most annoying for the handle to pull off when being withdrawn from a tight joint. Little tapered slips of wood can be used to tighten the fit, but remember to put a dab of glue on them before finally driving home. It is also necessary to arrange the slips so that the blade is in alignment with the handle. If out of truth faulty cutting may result, and much power is lost if struck with the mallet. Furthermore the latter only results in the bend becoming worse. As a rule slips on opposite sides of the tang put things right.
A bent tang (this generally occurs in the smaller sizes) may be the cause of bad alignment. The only plan is to remove the handle, place the tang on a piece of metal and straighten with the hammer.
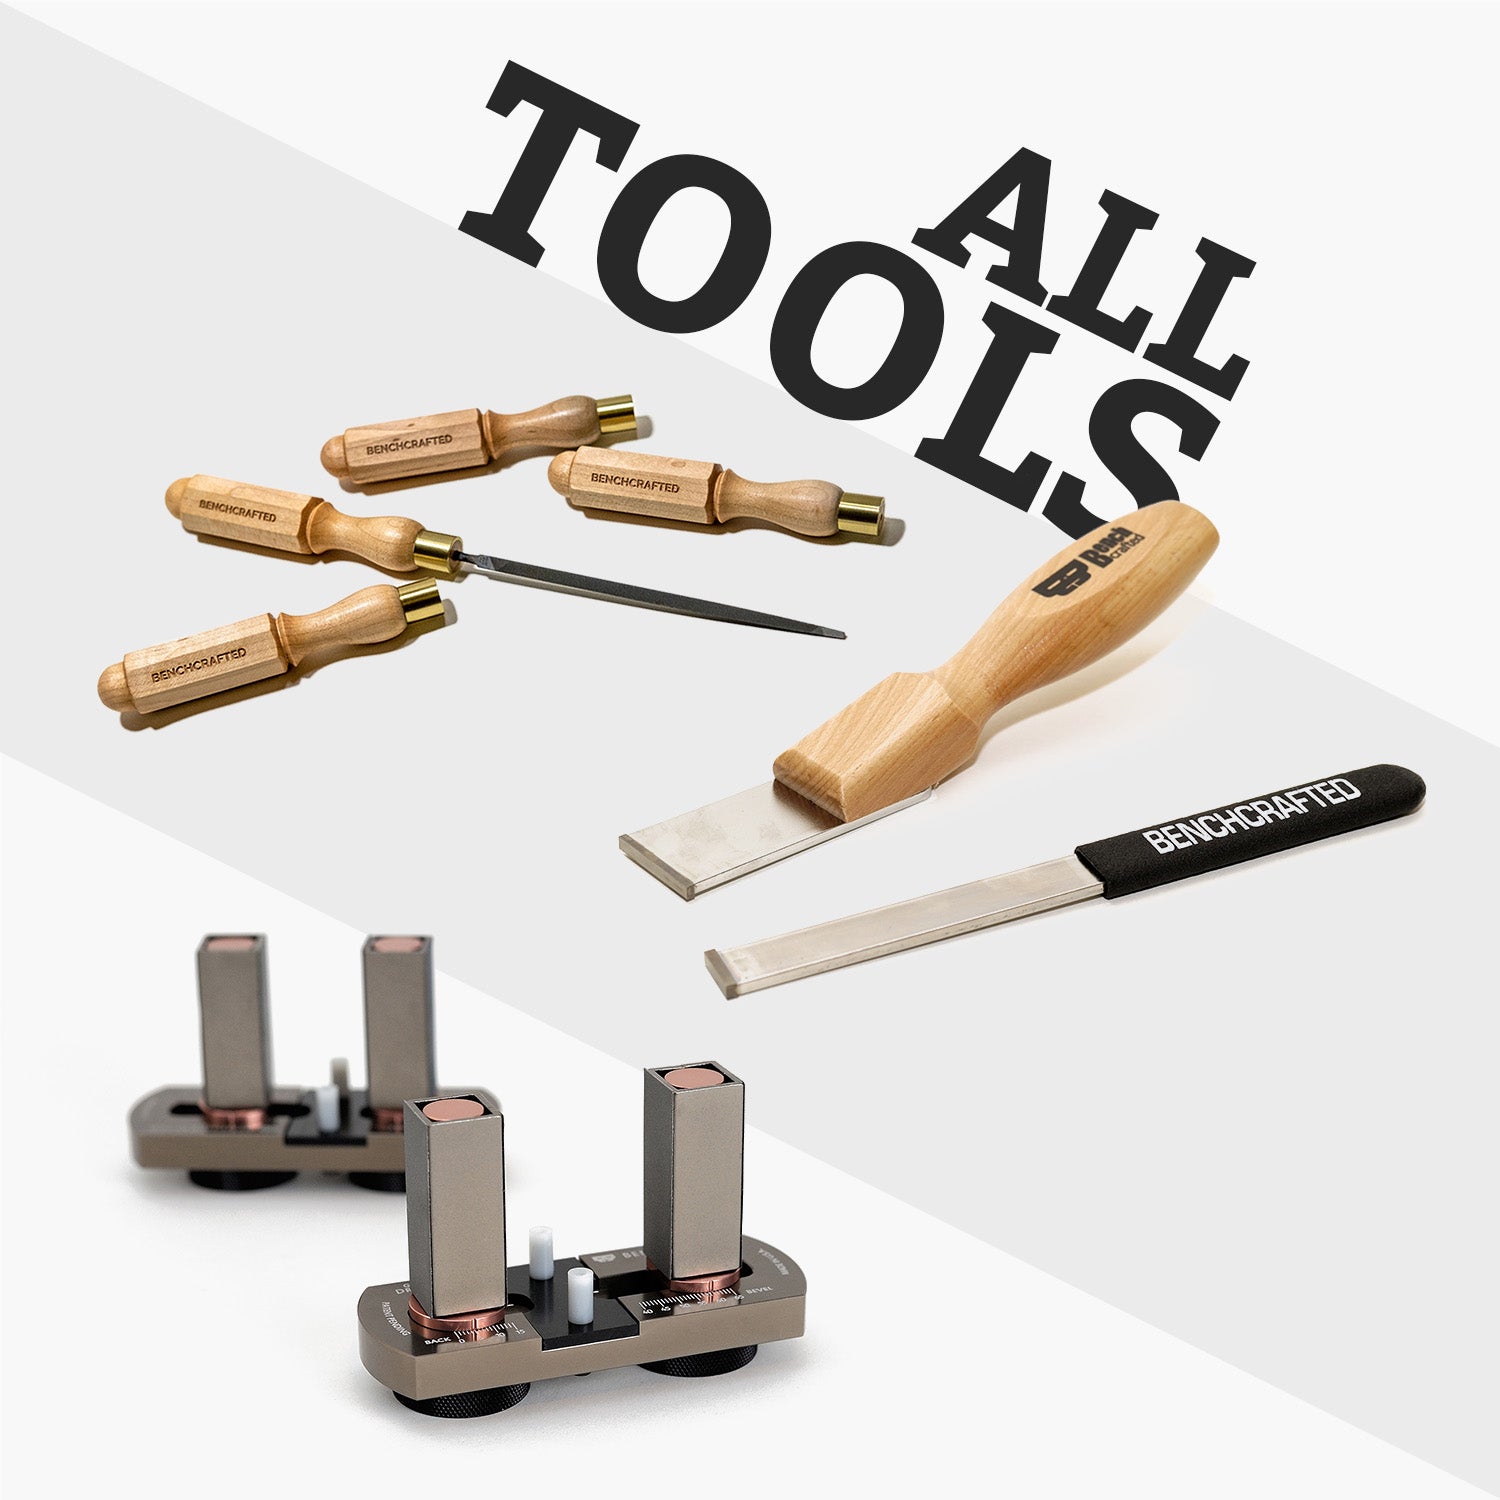
Similar Products